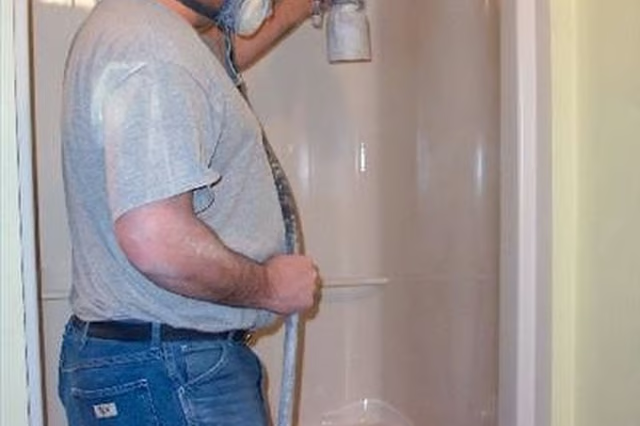
One of the downsides to fiberglass, however, is that it is fairly easy to damage. This most often occurs when home repairs are taking place and a tool, board or piece of metal is inadvertently stuck through the fiberglass. All is not lost, however. A kit from your local hardware store and a half-day's worth of work will repair the hole in your fiberglass shower.
-
Determine if the hole you're patching will require fabric or mesh (included in the kit) as part of the repair. This is done by measuring the size of the hole. Holes over 1/4 inch in width will require mesh or fabric patching.
-
Sand any jagged or sharp areas adjacent to the hole you'll be repairing, using the sandpaper included in your patching kit.
-
Mix the polyresin according to the manufacturer's directions on the package. Be sure to do this on a tarp or piece of cardboard to avoid getting the resin on other items.
-
Add the colorant per the package instructions. Check the color next to the color of the fiberglass shower you're preparing to repair to be sure it is a good match.
-
Mix the thickening agent into the substance you've already mixed. Add the hardener, following package directions precisely. Too little hardener won't set the resin and will leave it tacky for quite some time. Too much hardener will allow for very little time between mixing and applying the product. In other words, it will harden too quickly to use.
-
Spread the mixture using a putty knife or tool that came in the kit, over the hole that requires patching. If using a mesh or fabric patch this is the time to spread it evenly over the applied mixture. Allow to dry for about 2 hours, then sand gently. Mix and reapply a second coat of the polyresin, colorant, thickener and hardener, and spread it on top of the patched area. Wait another 2 hours and sand once again.