


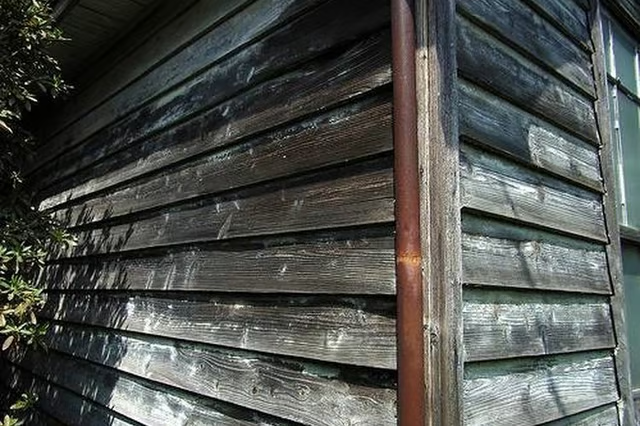
However, with proper installation and maintenance, Masonite lap siding will last 10 years or more. Following the manufacturer's recommendations will result in house siding that won't rot or deteriorate in two or three years.
Things You Will Need
-
Set up the paint sprayer according to the manufacturer's instructions. Fill the sprayer with primer paint.
-
Prime the back side of the lap siding with two even coats of primer. Add an additional coat of primer to the front of the lap siding. Coat evenly and do not allow heavy buildups. Cover all the edges. Allow the primer to dry completely between coats. Give the 1x2 and 1x3 lumber a coat of primer at the same time.
-
Apply two coats of paint with the sprayer, covering the front, back and edges of the siding. Allow the paint to dry completely between coats. Paint the 1x2 and 1x3 lumber with one coat of paint.
-
Use the laser level to mark a line around the house. The line should be located one siding width up from the lowest level of the installed siding. Snap a chalk line on the marks on each side of the house.
-
Measure and cut a piece of 1x2 to fit the corner of the house from the chalk line to the eave. With the piece flush to the corner, nail it in place with galvanized finish nails. Complete this step for all the corners of the house.
-
On the opposite side of the corner, cut and fit a piece of 1x3 to match the 1x2 already in place. Hold it flush with the outer edge of the 1x2 and nail in place with galvanized finish nails. Complete this step for all the corners of the house.
-
On one side of the house, measure and cut a piece of hardboard lap siding to fit between the corner trim pieces. Expansion should be allowed for, so subtract one-fourth to 3/8 inches from the actual length to leave a one-eighth to 3/16-inch gap between each trim piece and the siding.
-
Hold the siding piece against the house with the top edge against the level line. Begin at one end and nail the siding in place with galvanized nails. Do not over-drive the nails. The heads should be just barely flush with the surface. Use two or three nails every 32 inches.
-
Measure down 1 inch from the top of the piece of installed siding and mark at each end. Snap a chalk line between the marks.
-
Continue cutting and installing pieces of siding all the way up the house, setting each subsequent piece on the chalk line marked below it. As each piece is installed, add an one-fourth-inch bead of caulk along the underside where it meets the previous plank. Smooth the caulk to create a good seal. Apply caulk to the last piece installed along the eave, closing and sealing all gaps.
-
Apply a 3/8-inch bead caulk at the corners where the siding meets the corner trim, filling all the gaps and creating a good seal.
-
Apply caulk between door and window brick moldings and the siding. Also caulk along the eaves. If a partial piece was used to finish the last row, cover the cut edge with caulk and paint.
-
Paint the entire installation one more time with a high quality exterior paint. Wait until the caulk has dried before painting. Spray-painting is a good, fast and easy method that ensures complete coverage.
The Drip Cap
- Masonite lap siding is an inexpensive alternative to wood siding.
- However, with proper installation and maintenance, Masonite lap siding will last 10 years or more.
- Coat evenly and do not allow heavy buildups.
- Snap a chalk line on the marks on each side of the house.
- Hold it flush with the outer edge of the 1x2 and nail in place with galvanized finish nails.
- Use two or three nails every 32 inches.
- Apply a 3/8-inch bead caulk at the corners where the siding meets the corner trim, filling all the gaps and creating a good seal.
- Apply caulk between door and window brick moldings and the siding.