


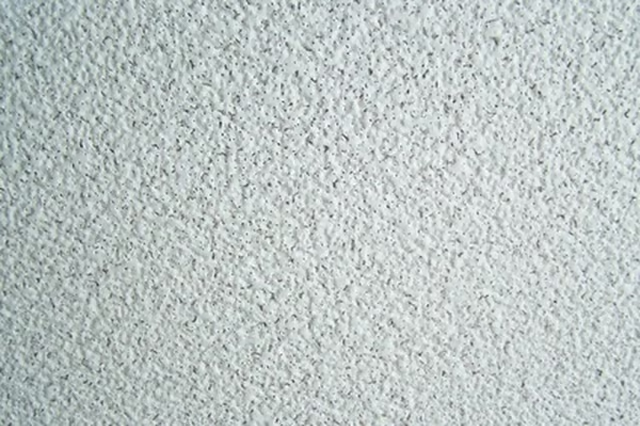
If you can paint a ceiling with a roller, you can apply texture paint. Different tools are used to enhance the finish after rolling on the texture paint, or the finish can be left as is.
Things You Will Need
-
Prepare the ceiling for painting by washing it with a cleaner to remove any cooking oil or nicotine stains. Apply a sealer primer to ceilings stained from water leaks to keep the stains from bleeding through into your new paint.
-
Mix the texture paint by combining the dry texture ingredients into latex paint in a 5-gallon bucket. Follow the directions on the bag to achieve the correct combination of texture mix to paint. Mix with a paint paddle attached to a drill until the mixture is smooth and pours very slowly. Attach a roller screen to the 5-gallon bucket to remove excess texture from the roller. The longer the nap on the roller, the deeper the texture finish will be. Do not apply excess pressure to the roller or it will slide and leave flat areas in the textured finish.
-
Dip the paint roller into the texture, roll it across the screen and begin applying it to the ceiling about 2 feet from the wall. Roll the paint toward the wall and stop just before it touches. Continue applying the texture onto the ceiling, rolling from the wet edge onto the unpainted portions. Work quickly because most texture paints set up fast. Using a roller extension handle allows you to work from the floor. This also makes it easier to see any places that need more texture.
-
Change the appearance of the texture by using a trowel to create swirls or other designs before it dries. Sponges, whisk brooms, combs and crumpled paper produce different designs in texture paint.
-
Finish the edges near the wall with a paintbrush to avoid getting texture onto the walls. Leave the textured ceiling as is, or paint with your choice of color after the texture is completely dry.
The Drip Cap
- Applying texture hides minor imperfections in drywall and adds interest to a plain ceiling.
- Different tools are used to enhance the finish after rolling on the texture paint, or the finish can be left as is.
- Prepare the ceiling for painting by washing it with a cleaner to remove any cooking oil or nicotine stains.
- Attach a roller screen to the 5-gallon bucket to remove excess texture from the roller.
- Dip the paint roller into the texture, roll it across the screen and begin applying it to the ceiling about 2 feet from the wall.