How to Paint Curved Walls to Ceilings
Painting requires patience and proper tools, and will probably take more time than you anticipated. Painting can easily and inexpensively transform a room's look and mood. If you're up for this challenge, know that a high-quality result requires high-quality materials, and this project's tools will range between approximately $50 and $150, as of January 2011, depending on the amount of paint required and the tools you already have on hand. Timewise, painting a room is probably a weekend project.

-
Lay down drop cloth(s) and tape in place, if needed.
-
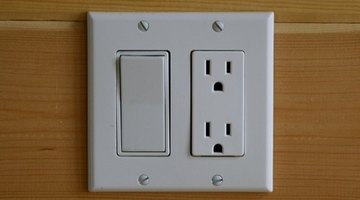
Remove electrical outlet switch plates, register covers, light fixtures and window coverings. Or use painter's tape, plastic sheets or large garbage bags to protect those surfaces. Clean all edges and surfaces so they're free of dust, dirt and cobwebs.
-
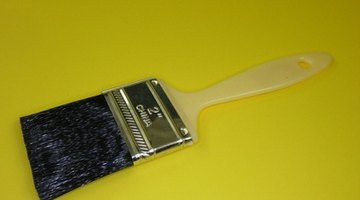
Stir the paint and pour about 3 inches into the bucket. Load the brush by dipping the bristles into the paint then gently slapping against the sides of the bucket. Hold the brush in your hand like a pen. "Cut in" the edges by painting those areas closest to the ceiling, baseboard, molding and other nonwall areas that can't be painted with a roller. With practice, you can do this freehand, or just tape off those areas.
-
Brush the paint 1 or 2 inches from the edge of the wall, back and forth, and then paint right to the edge, blending it all together with one or two more strokes. The final brush strokes follow the curve of the wall -- the direction you'll eventually be rolling -- and are parallel to the ceiling and floor. Slightly overlap the area you just painted when you paint the next section.
-
Moisten the paint roller with a little water while brushing away any loose nap fibers with your fingers. Pour paint to fill up the bottom half of the paint tray and attach to the ladder. Cover the roller with paint without letting the paint drip.
-
Avoid the typical method of rolling the paint up and down from ceiling to floor, using a telescope extension if necessary. Curved walls are painted sideways -- the ends of the roller point to the ceiling and floor -- while standing on a ladder. Distribute the paint in a workable section (about 3 feet by 3 feet). Approximately 9 square feet of wall can be painted with one roller of paint. Place the roller in the middle of the section you want painted, and work your way up, slightly overlapping where you cut in, and then move the roller down the wall and across to the next section. Continue in this manner along the wall adjacent to the ceiling, working your way down and across the wall in sections until you reach the floor.


References
- "Sunset Decorating with Paint & Wall Coverings"; Elizabeth Hogan; 1991
- This Old House: How to Paint a Room
Resources
Tips
- For a free paint tray liner, turn a plastic bag inside out, enclose the tray in the bag, tape it into place and then throw it away at the end of the day. If you don't finish painting one day, take the roller off the frame, roll it up tightly in a plastic bag and place it in the refrigerator; your roller is ready the next time you paint.
Warnings
- Read and abide by the warning labels on the products used.
- Don't lean sideways on the ladder; it's much safer to reposition the ladder.
- Keep a rag handy to clean up mistakes. If you get paint on the ceiling or baseboard, cover a putty knife with a thin, damp rag or denatured alcohol and wipe the paint off.
Photo Credits
- ink cans on paint image by Franc Podgor...¡ek from Fotolia.com
- Light Switch and Outlet image by Towards Ithaca from Fotolia.com
- full paint brush image by jimcox40 from Fotolia.com
More Articles


