


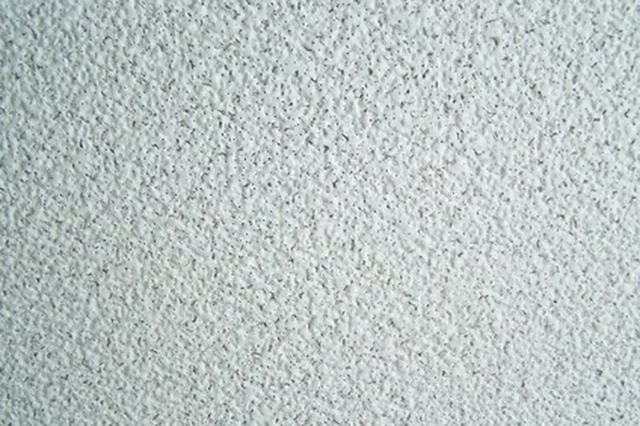
Preparation
-
Remove or cover furniture, curtains and rugs in the room with a drop-cloth, and apply masking tape along the upper edges of the walls to protect them from joint compound. Keep the temperature at least 55 degrees Fahrenheit while you apply the joint compound and until it dries. Open the windows or use a fan for ventilation. Set up a ladder if you're not using a long-handled roller or brush.
-
Fill a bucket 1/3 full of drywall joint compound, and stir in enough water until you achieve the thickness you need, depending on which application method you choose.
-
Test the method on a spare piece of drywall that a helper holds vertical or angled overhead. Add more water or joint compound to thicken or thin out the mixture until you achieve the results you want. When you're satisfied, mix up more joint compound to the same thickness and apply it to the ceiling using the same method.
Paint Roller Method
-
Dilute the joint compound to the thickness of ceiling paint and pour it into a paint roller tray. Dip in a long-handled paint roller that has a long nap.
-
Coat an 8 by 8-foot section of the ceiling by rolling a series of stripes in one direction, then roll back over it the other way, coating it thoroughly with a thin layer of joint compound. Leave the pattern in even stripes, or roll once more in small strokes in random directions, without adding more joint compound, to create a random texture.
-
Move to the next 8 by 8-foot section and coat it the same way. If the first section begins to dry and you need to touch it up, dip the roller in a small amount of fresh joint compound and go over it, making the transition seamless from one section to the next.
Brush or Trowel Method
-
Mix joint compound slightly thicker than for a roller, if you want to use a brush, or just thick enough to stay on a trowel, if you want to use a trowel. Use the compound from a tray or directly from a bucket.
-
Brush or trowel joint compound on the ceiling with random strokes, using a wide, stiff-bristled brush or mason's trowel to coat an 8 by 8-foot section of the ceiling.
-
Drag a pattern in the wet joint compound with the brush or trowel. Swirl it in random designs, or make a starburst or series of patterns. When you've finished one section, move to another section and repeat.
"Stomp" Method
-
Mix the compound slightly thicker than paint. Coat an 8 by 8-foot section of the ceiling with a thick layer of compound, using a brush or roller.
-
"Stomp" the joint compound while it's still wet by repeatedly poking straight up against it with a stiff-bristled brush, broom, sponge, potato masher or any item with an interesting texture.
-
Finish one section while the joint compound is still wet, then coat another section and repeat.