


Things You Will Need
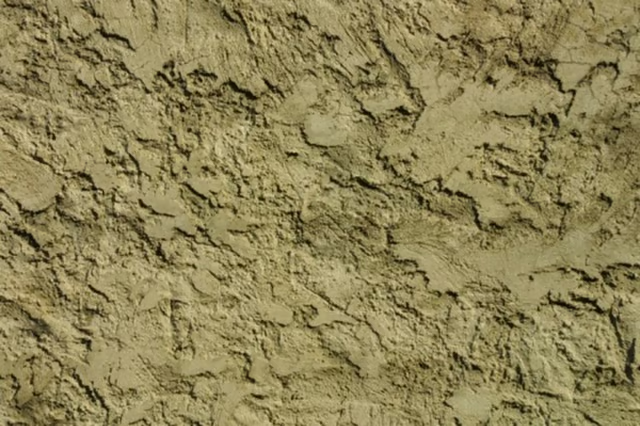
knockdown technique to create a stucco texture that can be varied according to the look you want to achieve. This technique offers perhaps the simplest and least expensive option for creating stucco texture.
-
Cover the floor with plastic sheeting and use tape to cover the edges of trim, ceilings and other areas that will not receive texture.
-
Mix a small amount of drywall compound and water in a mixing pan until you get a workable texture -- somewhat like thin mashed potatoes. Mix the thinned compound well with the masher. Record the amounts of compound and water you use so that you can make additional, identical batches of thinned drywall compound.
-
Practice applying knockdown texture to a scrap board before you begin working on a wall or ceiling. Dip the roofing brush in the compound and use the brush to dab or slap the thinned compound onto the board. The thinned compound should form small, irregular peaks -- if the compound does not hold peaks well, add more drywall compound to the mix. Allow the compound to dry for 10 to 15 minutes, until the peaks are somewhat set but still soft.
-
Gently drag the drywall knife across the surface of the practice board to knock down the peaks and create a stucco look. If you are unhappy with the look of your knockdown texture, scrape the compound off the board and continue to experiment with your application technique, drying time and knockdown technique until you are satisfied.
-
Apply your perfected knockdown stucco texture to your walls by working in small sections. You should be able to apply thinned compound or knock down the texture in approximately five minutes. Alternately apply thinned compound to new sections and knock down the texture on previous sections as you work your way around the room.
-
Allow the texture to dry thoroughly before painting, approximately 48 hours.
Check out this related video from Homesteady on Youtube.