


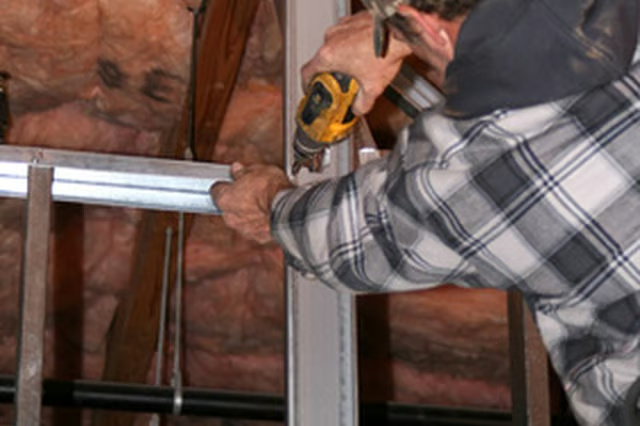
This includes installing the electrical system inside of the metal framed wall. The electrical components may look similar, but electrical components designed for wood installation will not install in a metal framed wall.
Things You Will Need
-
Measure up on the stud from the floor with the tape measure. Place a mark on the inside face of the metal stud with the permanent marker at the bottom height you need to install the electrical box.
-
Align the bottom of the electrical box on your mark and hold the small piece of drywall against the front face of the stud.
-
Move the electrical box until the front edge of the electrical box is even with the outside face of the small piece of drywall. Make sure the bottom edge of the electrical box is still aligned with your mark.
-
Secure the electrical box to the metal stud by placing one leg of the six-inch self-locking C-grips inside of the electrical box and the other leg on the side of the metal stud opposite the side of the stud with the electrical box. Squeeze the handles of the C-grips together to lock the electrical box in place.
-
Insert the No. 2 Phillips tip into the screw gun and place one 3/4-inch, No. 6 self-drilling screw into each hole stamped in the side-mounting clips of the electrical box.
-
Remove the C-grips from the electrical box to finish installing the electrical box to the metal stud.
The Drip Cap
- With today's emphasis on building green to save the environment, metal studs are a wise choice as a framing.
- Using metal studs as a framing material in your home is challenging, especially if you are using standard lumber framing materials.
- Secure the electrical box to the metal stud by placing one leg of the six-inch self-locking C-grips inside of the electrical box and the other leg on the side of the metal stud opposite the side of the stud with the electrical box.
- 6 self-drilling screw into each hole stamped in the side-mounting clips of the electrical box.