


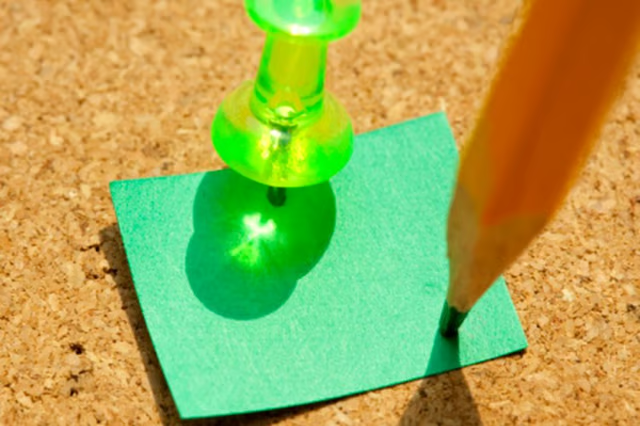
Glued to plywood, it becomes a parking spot for important notes, notices, cherished cards and photos. Making your own corkboard also allows you to decorate it to match the surrounding decor.
Things You Will Need
-
Cut cork with scissors to fit size and shape of plywood.
-
Apply wood glue to the back of the cork and spread evenly with a disposable foam brush.
-
Apply wood glue to the plywood and spread evenly with a disposable foam brush.
-
Place the glued side of cork onto the glued side of the plywood.
-
Roll the surface of the cork with a roller, such as a rolling pin, to remove any air bubbles.
-
Clamp the edges of the cork to the plywood for 24 hours, or until glue is completely dry.
The Drip Cap
- Corkboards are well known for their usefulness, but the sizes of ready-made boards don't always fit the space requirements.
- Making your own corkboard also allows you to decorate it to match the surrounding decor.
- Apply wood glue to the plywood and spread evenly with a disposable foam brush.