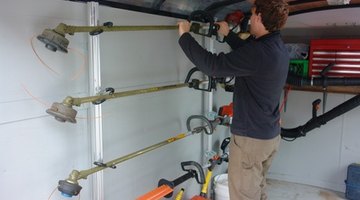
How to Build Shelving for a Utility Trailer
Do you need to utilize the storage capacity of your utility trailer? Building shelving to attach to the inside of it is the solution. You want to make them as light as possible, but they need to be strong enough to support the weight of your cargo.

Use solid lumber to support the shelves, but you can use wire shelving or plywood for the shelves depending on what purpose they serve. You can build them part of the way up the wall or all the way up.
-
Use an electric miter saw to measure the distance from the floor of the trailer to the ceiling. Cut enough 2-by-2-inch boards to space them out every 16 inches from the front to the back of the trailer. These are the shelf upright supports.
-
Cut 2-by-2 boards for horizontal shelf supports with an electric miter saw. Cut two each per shelf, one for the front of the shelf and one for the back.
-
Make marks on the trailer wall representing the height of each shelf. Secure the 2-by-2 boards on the marks drawn on the trailer walls with 2 1/2-inch bolts.
-
Secure L-brackets to the ends of the 2-by-2s cut for the uprights. Stand the uprights in place and secure them with sheet metal screws.
-
Mark the uprights at the same height as the 2-by-2s on the trailer walls. Secure 2-by-2s to the uprights with the 2 1/2-inch wood screws.
-
Use a circular saw or table saw to cut plywood shelving to match the depth and length of the shelves. Use 1 1/2-inch wood screws to install the shelves to the 2-by-2 supports.
Things You Will Need
- 2-by-2-inch lumber
- Electric miter saw
- 2 1/2-inch bolt
- Variable speed drill
- Philips head screw tip
- 1-inch sheet metal screws
- 2 1/2-inch wood screws
- Plywood
- Circular saw
- Table saw (optional)
- 1 1/2-inch wood screws
Tip
Drill pilot holes for wood screws if needed.
Warning
Do not leave power tools within the reach of small children.
Writer Bio
Michael Straessle has written professionally about the construction industry since 1988. He authored “What a Strange Little Man,” among other books, and his work has appeared in various online publications. Straessle earned a Bachelor of Arts from the University of Arkansas at Little Rock in professional/technical writing.
Photo Credits
- line trimmers image by Horticulture from Fotolia.com
- line trimmers image by Horticulture from Fotolia.com
More Articles


