


Things You Will Need
-
Measure the gap between the bottom of all exit doors and the existing concrete patio or driveway. Plan to leave at least a 3/4-inch gap between the bottom of the door and the finished paver surface, using thin pavers if necessary.
-
Scrub the concrete surface clean using a concrete cleaner and a stiff-bristle broom or brush. Thoroughly rinse the area to remove all traces of detergent. Let the surface dry completely.
-
Put on a pair of heavy gloves before starting work. Load a tube of masonry construction adhesive into a caulking gun. Use a utility knife to remove about a 1/2 inch from the tip by cutting through the end of the nozzle at a slight angle.
-
Anchor the edge pavers first as follows: Lay two 3/16-inch beads of adhesive lengthwise along the edge of the concrete, about 2 inches in from the sides of your edge blocks. Use enough adhesive to cover about 48 inches at a time while working your way around the perimeter.
-
Position the first block so its outer edge is flush with the edge of the underlying slab. Place a torpedo level on the block and check it for level, both end to end and side to side, while gently tamping the block into place with a rubber mallet. Alternatively, when working on a sloping driveway or walkway, ensure that the pavers are parallel to the concrete base.
-
Weight down each block with a second paver as you lay it; this will prevent movement as the construction adhesive expands during the first few minutes of the curing process. Remove the weights after about 15 minutes.
-
Continue laying perimeter blocks while carefully aligning the edge of each successive block and checking for level as you work. Place a 2-foot or 4-foot level across the set pavers periodically to make sure they are level with one another to ensure a flat finished surface. Allow 24 hours for the edge blocks to set before walking on the surface or laying the interior section of pavers.
-
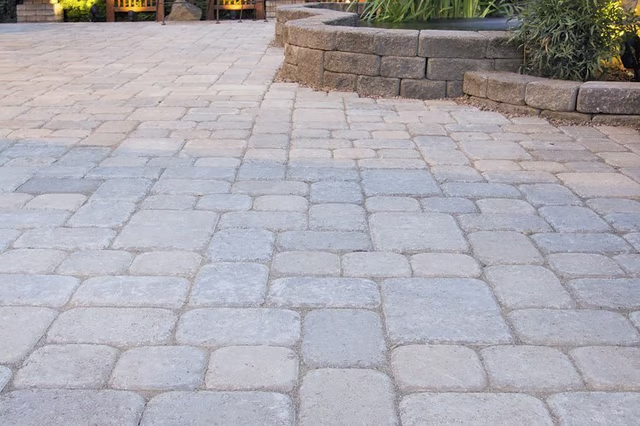
Complete the project by installing the interior pavers using the same procedure described in the previous steps. To create a simple running bond pattern, start the first interior course a half-block's distance from the sides of the edge blocks. Start the second course with a full block, and repeat the alternating pattern with each course. Once the interior section is installed, complete the project by filling the half-block gaps with cut pavers. Allow 24 hours setting time before using the patio or driveway.