
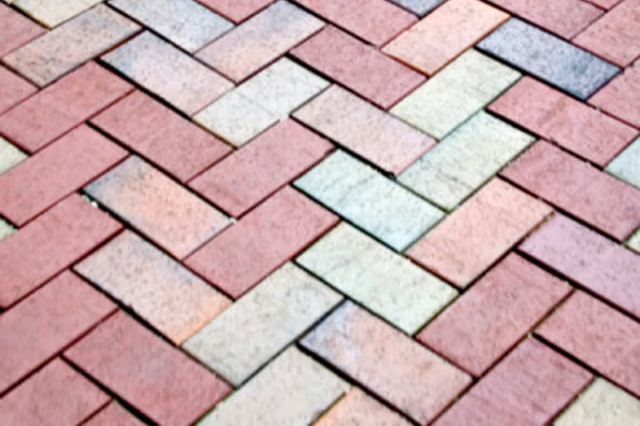


To lay the herringbone pattern without making cuts, plan to lay them at 90-degree angles.
Things You Will Need
-
Line edge restraints along the inside border of the walkway or patio foundation. Use a hammer and lawn spikes to fasten the edging firmly to the gravel. Fit a carpenter’s square in the corners to ensure they form 90-degree angles.
-
Set a row of pavers end-to-end parallel to the edging to frame the rest of the site. Butt the ends against each other and the sides against the restraints. Set the carpenter’s square in the corners to check they still form 90-degree angles.
-
Lay a 4-inch by 4-inch square paver in one corner of the site.
-
Set two pavers parallel against the two exposed sides of the square, forming a short diagonal. The first paver will sit at the bottom of the square along the side border, and the second will begin against the front edge restraint parallel to the square so the joints of the two pavers will be staggered by 4 inches.
-
Lay a square paver in the next place against the front edge.
-
Place a second diagonal line of pavers turned at a 90-degree angle to the first diagonal.
-
Set the next square paver along the side edge restraint. Continue to lay the pavers on diagonals from the side towards the front end of the site. Each row of pavers should be placed at a 90-degree angle to the previous row. Lay a square paver against one end of each row, alternating ends every row.
-
Lay a wood plank over the surface and walk across the plank to level out the pavers with even pressure.
-
Pack fine masonry sand between the joints using a stiff broom.
-
Roll paver sealer over the surface to preserve the joints and protect the pavers from the elements.
The Drip Cap
- The herringbone pattern draws attention to a paver surface.
- As this pattern calls for laying pavers in perpendicular angles, finishing edges typically calls for cutting end pavers to fit.
- Set the carpenter’s square in the corners to check they still form 90-degree angles.
- Place a second diagonal line of pavers turned at a 90-degree angle to the first diagonal.
- Continue to lay the pavers on diagonals from the side towards the front end of the site.