


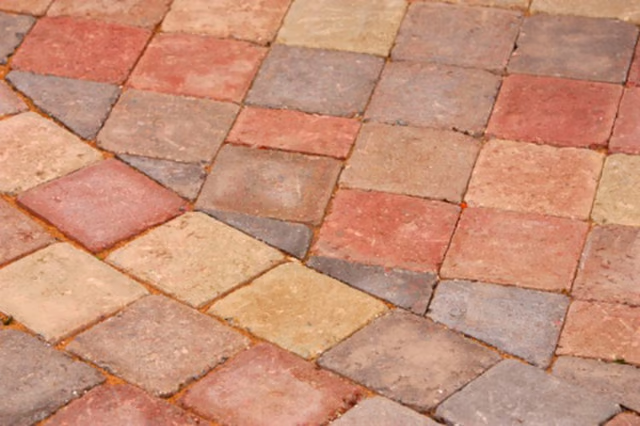
Before breaking ground, decide on the degree of the curve so you can determine whether the pavers will need to be cut to fit.
-
Make a basic scale drawing of your yard including features such as trees and gardens. Draw the outline of the patio or the course of a 4-foot-wide walkway.
-
Lay two ropes along the borders of the site in your yard. Use your drawing as a guide for where to place the ropes. Walk through the ropes and adjust the curve as needed.
-
Cut into the outlined perimeter with a spade. Excavate 6 inches from the site with a shovel until the ground is level. Go over the ground with a hand tamper to compress the dirt.
-
Place flexible edge restraints against the inside borders. Secure the strips in place with 9-inch nail spikes.
-
Fill the area with 4 inches of ¾-inch aggregate and compact it with the hand tamper.
-
Spread 1 inch of coarse-sand bedding over the aggregate base.
-
Set the pavers in rows according to your pattern. Begin at the broadest side of the curve. Place them against the edge restraints, leaving no more than ¼ inch between the pavers. The inner corners of the pavers will touch adjacent pavers while the gaps between the outer corners will be larger as they form the curve.
-
Continue to set the pavers in rows until the surface is complete. Lay a board across each section of pavers and step on it to apply pressure. The pressure embeds the pavers into the sand and levels them.
-
Use chalk to draw a straight-cut line over any pavers that need to be cut to fit tight curves. Chisel a score line over the chalk line with a hammer and cold chisel until you can snap the paver apart -- or slowly feed the paver into a masonry blade to cleanly cut along the chalk line. Cut pavers into triangular shapes to fit them into any large gaps between whole pavers.
-
Fill all gaps between the pavers with fine masonry sand. The sand will pad them from each other and prevent them from rotating out of position.