


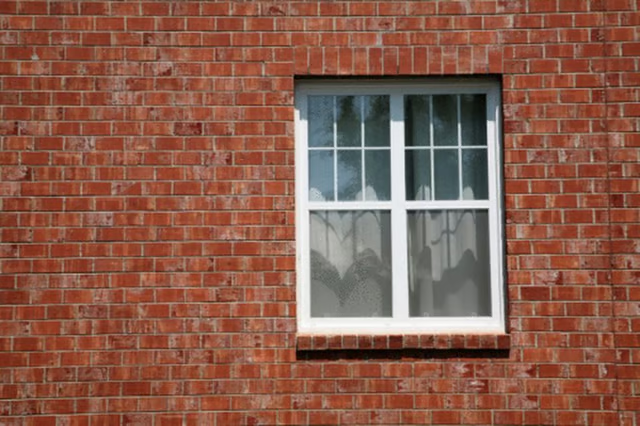
Mortar replacement can be readily found in home stores, which is applied to seal the new brick in place without the need for purchasing and mixing a bag of dry mortar.
Things You Will Need
-
Use the hammer and chisel to remove the mortar surrounding the broken brick. Use care to prevent damage to the surrounding bricks, but don't be afraid to chip away at the brick itself, if necessary. It will not be reused. With the mortar removed, gently loosen the brick from the backing wall of the home by tapping it with the hammer. When it comes loose, pull it away from the wall.
-
Clean the surrounding brick and the backing wall within the hole left by the removed brick of any remaining chunks of mortar using the hammer and chisel. This will ensure adequate adhesion of the replacement mortar when it is used.
-
Load the mortar tube into the caulking gun and use the razor blade to remove the tip. Squeeze the trigger to snug the push rod against the base of the mortar tube.
-
Squeeze a generous amount of mortar replacement against the backing wall of the hole and the brick on which the replacement brick will rest, then press the brick into this mortar. This will hold the brick in place while you apply the remaining mortar. Ensure that the replacement brick is even with the surrounding bricks, then apply a thick bead of mortar replacement from the tube in between the bricks to seal the brick in place. Allow the mortar to dry according to the package instructions.
The Drip Cap
- Repairing the mortared brickwork of a window sill can be challenging due in part to the need to find suitable replacement brick.
- Once the correct brick is found, however, the process becomes much simpler.
- Load the mortar tube into the caulking gun and use the razor blade to remove the tip.
- Squeeze a generous amount of mortar replacement against the backing wall of the hole and the brick on which the replacement brick will rest, then press the brick into this mortar.