


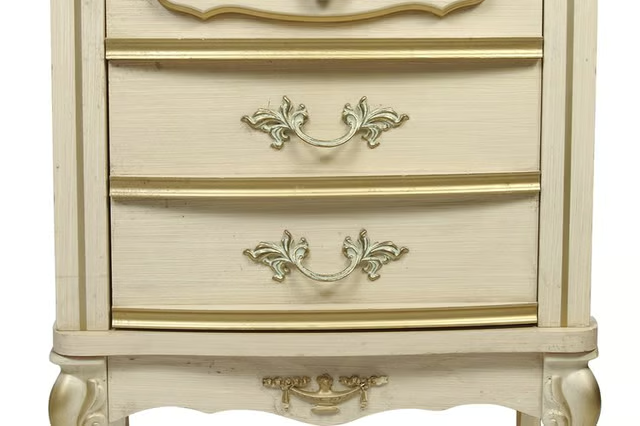
Prepare for Installation
-
Measure the top of the dresser and acquire a sheet of Formica large enough to cover the surface with room for cutting and trimming.
-
If the top of the dresser is stained or painted it must be sanded before attaching the Formica. It is not necessary to completely strip the surface, but the majority of the finish must be taken off.
-
Clean the surface with a mild soap and water to remove any dust or grease. Allow the surface to dry completely.
Cut the Formica
-
Mark the dimensions taken from the top of the dresser on the sheet of Formica. Leave a little extra at the edges for trimming. Using a Formica cutting blade in a utility knife, score the sheet at the marks using a straight edge as a guide. Apply firm, consistent pressure to the knife to make a clean score across the sheet, and then snap the sheet at the score.
-
Set the Formica on top of the dresser and check the fit. Any excess can be trimmed off once the sheet is attached to the surface.
-
Make sure the Formica lays flat and evenly on the surface of the dresser. If it sags or rises at any point the surface of the dresser may need to be sanded more for the Formica to lay evenly.
Attach the Formica
-
Using a brush and roller, spread the adhesive on the surface of the dresser in an even, thin layer. Do the same on the back of the Formica piece.
-
Start at one end of the surface and lay the Formica down into the adhesive, gradually laying more and more of the piece down. This process is easier with an assistant.
-
Once the entire sheet is set into the adhesive, adjust as necessary and gently press down to ensure a good bond. A rolling pin or similar object can be helpful to make sure the Formica is pressed completely into place.
-
Allow the adhesive to dry. Trim excess Formica off the edges using a utility knife and a straight edge.
-
Finish the edges of the dresser top using a method consistent with the style of the dresser. Edges may be finished with small strips of Formica glued vertically, which is common in counter top installations. It is also common to finish the edges with sections of hardwood trim which can be painted or stained to match the rest of the dresser.