


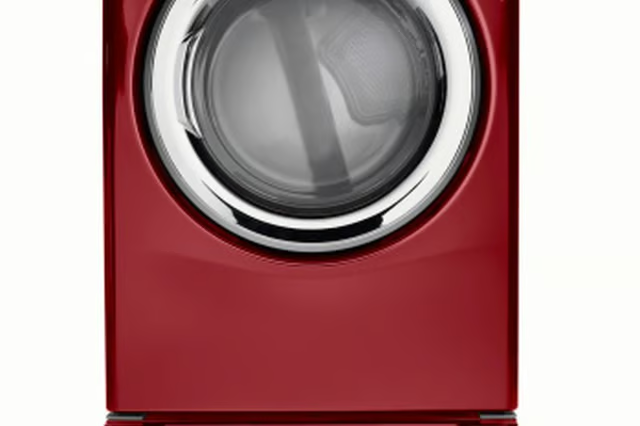
Depending on the reason behind the problem, repairing it may be a simple matter involving the clothes inside the dryer, or it could involve replacing dryer parts.
What to Check First
If you notice that the air inside the dryer is not growing any warmer, first make certain that the dryer's temperature and timer selections are properly set. Make sure the dryer is set to "Dry," instead of "Fluff" or "Cool Down." If the controls are properly set, make sure that the clothes are not overly packed inside the dryer or arranged so that they block the flow of air into the dryer. Rearrange the clothes in the dryer, if necessary. Also, check the dryer's screen for excessive lint, and remove it.
Electric Dryers
If you have an electric dryer that is not heating, make sure that the power cord and the plug are not damaged. Check both the fuses within the circuit breaker panel that correspond to the dryer. Both fuses must be working properly for the dryer to heat up. Other causes in an electric dryer can include a bad heating element, a blown thermostat or thermal fuse, or possibly a blown timer contact.
Gas Dryers
When a gas dryer is not heating up, check to make sure that the gas valve behind the dryer, as well as the house's main gas valve, are both turned on. The coil to the gas valve could also be damaged. Other problems with a gas dryer are similar to electric dryer problems, including blown thermostats or timers. Also, make sure that the dryer's pilot light or igniter is on and properly lighting the burner.
Testing Tools
To test the dryer's thermostats, or the fuses or breakers in the circuit breaker panel, use an ohmmeter or a multimeter. An ohmmeter is a device that measures electrical resistance. A multimeter is used to make various electrical measurements and combines the functions of an ohmmeter, voltmeter and ammeter. Before you check the dryer, make sure that you unplug it before you begin testing. Also, remove all the wires from the part that you are testing.