


Things You Will Need
-
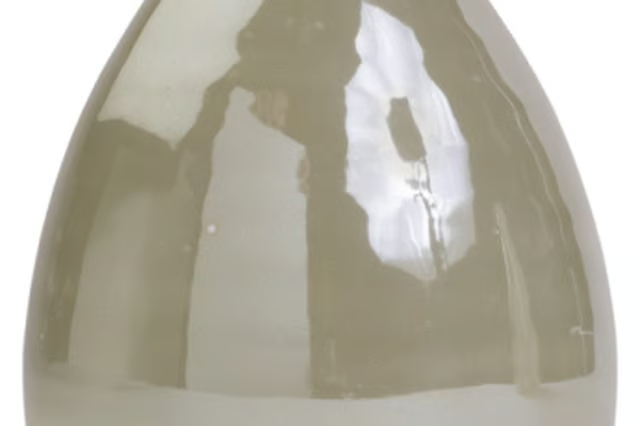
Clean the vase with a ceramic cleaner and a soft cloth to remove any dirt from the surface that could interfere with the sealing process. Place the vase onto a level work surface.
-
Pour a small pool of acrylic floor sealant onto a piece of cloth. Spread the sealant over the outer surface of the vase with the cloth, taking care to cover the entire vase with the material. Allow the sealant to dry on the vase overnight.
-
Apply a second coat of sealant to the outside of the vase to augment the first, ensuring that no portion of the vase goes unsealed. Allow an additional 48 hours of drying time before placing any liquid into the vase.
-
Fill the vase with water and examine the surface for signs of leakage. Allow the water to sit inside the vase for 24 hours, checking occasionally for signs of leaking. If leaks occur, empty the vase, dry it off and apply two additional layers of sealant, following the same steps used for the first two layers. Repeat the test to make certain the vase is completely sealed, then use the vase as normal.
The Drip Cap
- A professionally crafted ceramic vase is typically leakproof, but minor flaws can lead to pinhole cracks and fissures.
- Allow the sealant to dry on the vase overnight.
- Apply a second coat of sealant to the outside of the vase to augment the first, ensuring that no portion of the vase goes unsealed.