


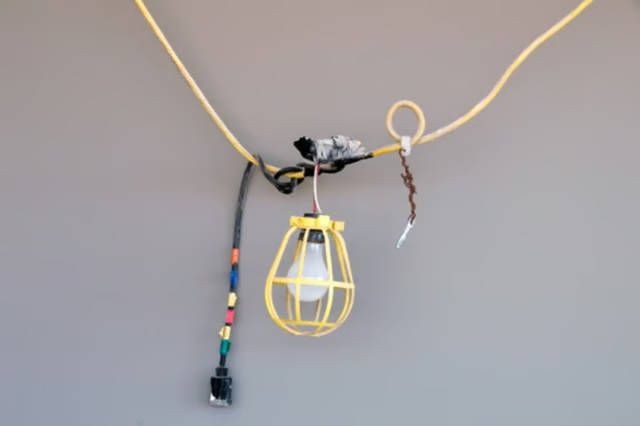
The PVC jacket's color identifies the ROMEX®'s wire gauge and type. ROMEX® wire with a white-colored jacket contains 14-gauge wire. ROMEX® with a yellow-colored jacket contains 12-gauge wire. A gray-colored jacket means the ROMEX® has an outdoor designation. Plugs intended for outside use should only use a ROMEX® with a gray-colored jacket.
Things You Will Need
-
Remove 1 1/2 inches of the ROMEX®'s jacket with a utility knife. Press the knife's blade into the jacket 1 1/2 inches from its end and pull the knife to the end of the wire. Pull the jacket away from the wire strands and cut the jacket off.
-
Remove one-half of an inch from the non-conductive coating of both insulated wire strands with wire strippers. Place the insulated wire into the stripper's jaws and squeeze its handles together. Twist the strippers then pull the insulation off of the wire.
-
Bend the ends of each wire into a hook with needle-nose pliers.
-
Open the plug with a slotted screwdriver. Plugs use slotted retaining screws, located near its prongs, to hold the plug's housing against its base. After unscrewing the base pull the housing off.
-
Slip the plug's housing over the ROMEX® with the end that connects to the base facing the end of the wire. Push the plug at least six inches from the end of the wire.
-
Examine the plug's base. Each of the plug's prongs connects to a wire terminal, located under the plug's housing. Each terminal uses a different colored screw for identification. The green-colored screw connects to the ground prong. The silver-colored screw connects to the neutral prong (the larger flat-shaped prong). The gold-colored screw connects to the hot prong (the smaller flat-shaped prong.)
-
Loosen each terminal screw with the slotted screwdriver. Do not remove the screws.
-
Slip the hook on the ROMEX®'s uninsulated wire around the green-colored screw. Tighten the screw with the slotted screwdriver.
-
Slip the hook on the ROMEX®'s white-colored wire around the silver-colored screw. Tighten the screw with the slotted screwdriver.
-
Slip the hook on the ROMEX®'s black-colored wire around the gold-colored screw. Tighten the screw with the slotted screwdriver.
-
Slide the plug's housing to its base and align the base's retaining screws with the housing's screw holes. Tighten the retaining screws with the slotted screwdriver.
-
Tighten the plug's wire clamp, if equipped, with the slotted screwdriver. Some plug models use a two-piece wire clamp, located where the wire enters the plug's housing, to prevent the wire from pulling out during use. Slotted screws hold the two pieces together, and as the screws tighten the clamp closes.
The Drip Cap
- ROMEX® wire contains three separate wire strands.
- The third wire, primarily used as a ground wire, does not have the non-conductive covering.
- ROMEX® with a yellow-colored jacket contains 12-gauge wire.
- Press the knife's blade into the jacket 1 1/2 inches from its end and pull the knife to the end of the wire.
- The silver-colored screw connects to the neutral prong (the larger flat-shaped prong).
- Tighten the screw with the slotted screwdriver.
- Slip the hook on the ROMEX®'s black-colored wire around the gold-colored screw.
- Tighten the plug's wire clamp, if equipped, with the slotted screwdriver.