
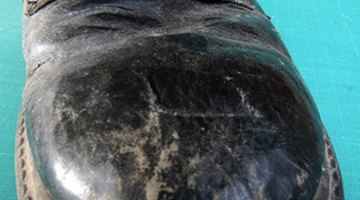
How to Clean Clark Shoes

Cyrus and James Clark founded the Clarks shoe company in 1825 in Somerset, England, initially selling just sheepskin slippers. Since then, the company has expanded to include a range of footwear for men, women and children, with dress shoes, boots and sandals. According to their website, their goal is to provide "
comfortably stylish footwear for nearly all occasions in an active person's life." Leather is the main component of most Clarks shoes, although the type of leather varies from shoe to shoe. Thus, the cleaning methods that you use will vary as well.
Things You Will Need
- Clean cloths
- Cream shoe polish or polishing wax
- Non-abrasive soap
- Pencil eraser or suede brush
- Silicone spray or equivalent
Aniline, Waxed or Oiled Leathers
-
Rub a dry cloth across the exterior of the shoe. Follow with a damp cloth.
-
Set the shoes aside to dry, away from direct sunlight or heat.
-
Dab a clean, dry cloth into a cream shoe polish for aniline leather shoes. If dealing with an oiled or waxed leather, use a polishing wax. Lightly apply to the exterior of the shoe. Buff the shoe vigorously until it shines.
Patent Leather
-
Dampen a clean cloth with warm water. Rub some non-abrasive soap onto the cloth and work up a mild lather.
-
Rub the cloth against the exterior of the shoe, removing any accumulated dirt.
-
Wipe clean with a damp cloth. Allow the shoes to air dry away from heat and sunlight.
Nubuck or Suede
-
Rub a pencil eraser or a soft suede brush against the exterior of the shoe, removing caked-on dirt or stains. Brush away any lingering debris with your fingers.
-
Dampen a clean cloth very lightly with warm water and run the cloth across the exterior of the shoe, soaking up accumulated dirt. Allow the shoes to dry away from heat and direct sunlight.
-
Spray the exterior of the shoes with silicone spray or a comparable protector for suede and nubuck. This will keep them looking new longer and prevent staining.
Tip
There are certain sprays on the market that are just for patent leather and will help restore the shine of the leather.
The Drip Cap
- Cyrus and James Clark founded the Clarks shoe company in 1825 in Somerset, England, initially selling just sheepskin slippers.
- Since then, the company has expanded to include a range of footwear for men, women and children, with dress shoes, boots and sandals.
- Rub a dry cloth across the exterior of the shoe.
- Wipe clean with a damp cloth.
- Allow the shoes to dry away from heat and direct sunlight.
References
Writer Bio
Lane Cummings is originally from New York City. She attended the High School of Performing Arts in dance before receiving her Bachelor of Arts in literature and her Master of Arts in Russian literature at the University of Chicago. She has lived in St. Petersburg, Russia, where she lectured and studied Russian. She began writing professionally in 2004 for the "St. Petersburg Times."
Photo Credits
- shoe image by jeancliclac from Fotolia.com
- shoe image by jeancliclac from Fotolia.com
More Articles