
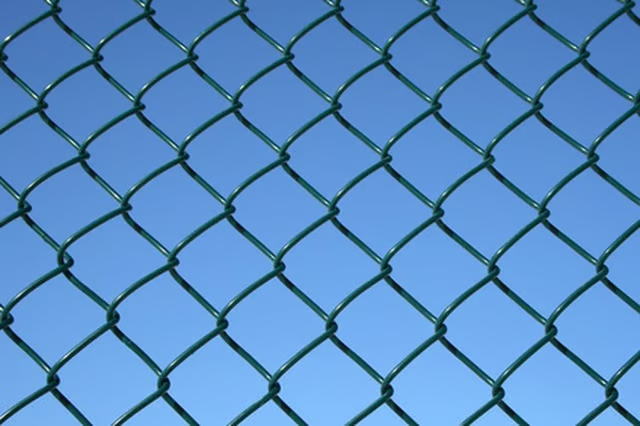
When stretching the chain-link mesh, you will need a helper in order to unravel it and pull it taught.
Things You Will Need
Stretching Chain-Link Fencing
-
Roll out the chain-link mesh against the fence frame starting at one corner post. You will probably need an assistant to help with rolling it out. Slide a tension bar through the links at the end of the fencing. Allow the mesh to be able to slide along the ground.
-
Hold the tension bar in place along the pole and fasten to the pole with brace bands spaced 1 foot apart. Don’t tighten the nuts completely until you are satisfied with the way the poles, mesh and tension bar look.
-
Stretch the mesh out between the corner posts with a pulling rod. Get the fence reasonably taught by hand wearing gardening gloves.
-
Hook one end of a come-along to a brace band on a corner post. Attach the other end to a pulling rod that is woven through the links of the chain-link fencing. Crank the come-along until all ripples are out and the mesh is completely taught.
-
Attach the stretched mesh to other corner post, slide the tension bar in the end and fasten with brace bands.
-
Finish the job by attaching the chain-link fencing to the top rail, using pliers to attach it with the galvanized wire.
The Drip Cap
- Stretching chain-link fence is not very difficult, but the job can be done much better when you have a mechanical advantage.
- When stretching the chain-link mesh, you will need a helper in order to unravel it and pull it taught.
- Hold the tension bar in place along the pole and fasten to the pole with brace bands spaced 1 foot apart.
- Attach the other end to a pulling rod that is woven through the links of the chain-link fencing.