-
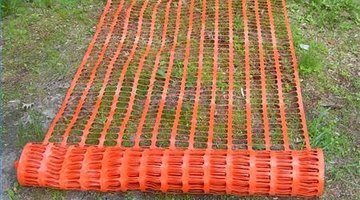
Place "T"-type metal poles in the ground at the end (corner) points of the area to be fenced off. Metal poles should have a "V" type attachment about a foot from the bottom, which can be used to push the pole into the ground with a heavy boot step and will then help anchor the pole when it is pounded down further with a mallet Run a chalk line or string between the end poles so a straight line of poles can be placed at 10-foot intervals. (Each pole is placed in the ground the same way the end or corner poles were placed.) Roll out the fencing on the ground along the line where the fence posts go..
-
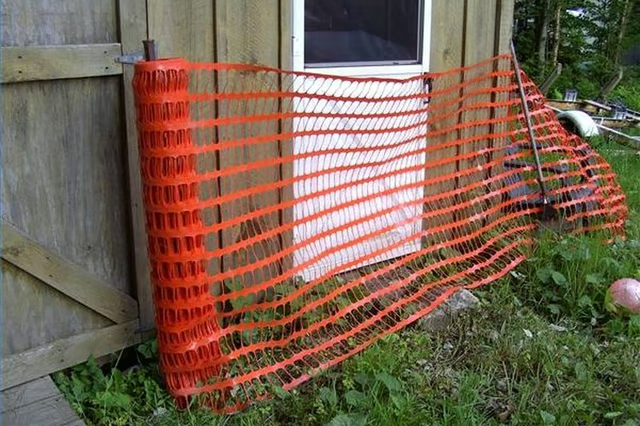
Start the end of the 4-foot fencing (which comes in 50-foot lengths) at one end pole by wrapping the fencing once around the pole. Place four zip ties at top, bottom and two mid-point intervals at about 18 inches and 30 inches from the bottom. (If plastic coated metal "chicken wire" type fencing is used instead of plastic mesh, the end horizontal wires of the substituted chicken wire type of fence can be individually wrapped around the pole and twisted upon themselves with pliers to anchor the fence instead of zip ties. Wear gloves because the ends of the cut wires are sharp.) Fencing can be rolled out on the ground along the line where it is to be erected.
-
Stretch the fencing between poles and pull zip ties tight at the same four points on each pole along the length of the fencing. Repeat the process until all fencing is pulled tight and upright along the length of the fence enclosure.
-
At the last point, wrap the fencing around the corner post and cut it with tin snips. Attach the fencing to the post with short bungee chords or other fasteners that can easily be undone to allow access. Clean up scraps and leftover poles so no dangerous debris is on site.