


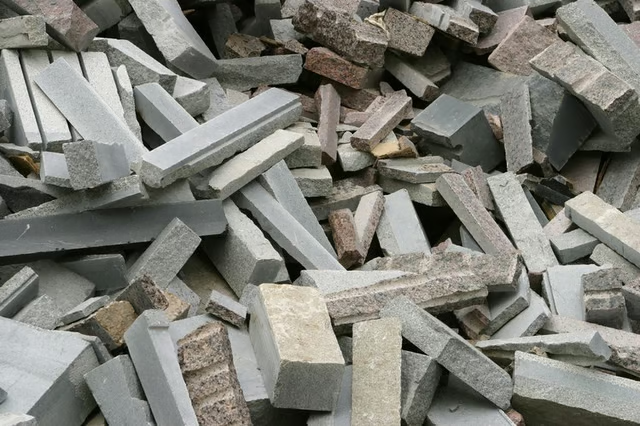
Often called “urbanite,” a tongue-in-cheek reference to where it is naturally most abundant, chunks of demolished concrete can be used in new paving projects like any other pavers. If the concrete is quite thick, however, you’ll need to excavate a fairly deep base before laying it down.
Outline & Excavate
Outline your patio, walkway or driveway with construction stakes and nylon string line. Excavate for the base of your broken concrete paving project with a spade and grub hoe, also known as a trenching hoe. You’ll need to dig deep enough to allow for 4 to 6 inches of gravel, 1 inch of coarse bedding sand and finally the urbanite. Ensure the grade slopes gradually away from the house or other structures, for proper drainage.
Build the Base & Bed
Before and after adding the gravel, lay down a 2-by-4 and place a level on top of it to check for evenness. Move or remove soil to make the ground level. Do this also to check for gradual slope in the “drainage direction.” Walk on or tamp the soil for compaction. Lay down half of your medium-sized gravel -- enough for 2 or 3 inches -- to start your base. Walk on it, wearing heavy boots, to compact it. Add the final layer of gravel and compact that layer too. Next, add 1 inch of coarse construction sand and compact it. Then “fluff” the very top of the sand layer with a light leaf rake, to create a soft surface for the concrete pavers to settle into.
Place the Concrete “Stones”
Start placing the broken concrete. Place the pieces smooth side up and rough side down, if there’s a notable difference. Fit the urbanite together like a giant jigsaw puzzle, evenly filling in the available space. Start at the outside edges and work in. For walkways and driveways, choose broken concrete pieces with even sides for the outside, to create a straight edge. For patios with curved edges, choose pieces that help create that curve. Shape urbanite as needed with the mason’s hammer and chisel. Always wear safety glasses. If any section is too thick and sticks up when placed, tap it down with a rubber mallet until it is even with the surrounding “stones.”
Lock the Concrete in Place
Walk on the final broken concrete surface, to ensure the urbanite pavers are settled. Toss coarse sand onto the surface with the shovel, and then sweep it into the spaces between pieces until cracks and joints are full and the sand’s level is even with the concrete surface. The interlocking sand will effectively “cement” the urbanite stones in place yet allow water to percolate into the ground. Walk on the surface for several days and repeat this step at least once, to ensure the concrete is tightly locked in place.
Final Touches
Change the cold gray color of concrete to a warmer, earthier shade by mopping the urbanite surface with a solution of iron sulfate. You can also spill coffee here and there to deepen the ocher tone in places. Alternatively, drop old pieces of copper to impart a bluish color.
The Drip Cap
- Instead of hauling broken concrete to the landfill, pulverize it for reuse as aggregate in new concrete.
- Often called “urbanite,” a tongue-in-cheek reference to where it is naturally most abundant, chunks of demolished concrete can be used in new paving projects like any other pavers.
- Ensure the grade slopes gradually away from the house or other structures, for proper drainage.
- Next, add 1 inch of coarse construction sand and compact it.
- Then “fluff” the very top of the sand layer with a light leaf rake, to create a soft surface for the concrete pavers to settle into.
- Always wear safety glasses.
- Walk on the surface for several days and repeat this step at least once, to ensure the concrete is tightly locked in place.