


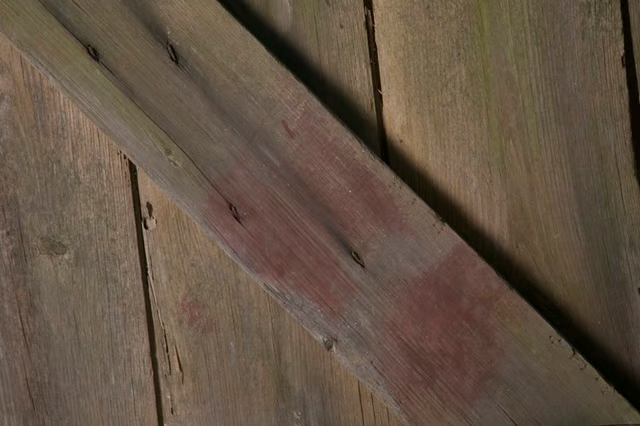
After the door is built, you can install it with a prefabricated base. Alternatively, frame out the top of the bulkhead with lumber, fasten the lumber frame with concrete screws or bolts and install the door hinges on the frame.
Things You Will Need
-
Measure the width of the bulkhead opening including the base or frame of the bulkhead. Measure again from front to back.
-
Measure a tongue-and-groove cedar board to the distance of the bulkhead front to back. Mark the board with a pencil. Repeat to mark off at least three more sections of cedar.
-
Cut the boards straight across at the pencil marks with a circular or miter saw.
-
Place the cut boards side by side on a flat work surface with the back sides facing up. Tap the edges of the boards together with a rubber mallet, forcing the tongue of one board into the groove of the next.
-
Measure, mark and cut more cedar and fit the boards together until the door is as wide as the bulkhead. Dimensions for a bulkhead door needn’t match the precise width and height of the bulkhead, just reasonably close.
-
Place a plain 2-by-4 board on the work surface against the top edge of the door. Tap the opposite ends of the boards with a mallet, forcing them against the two-by-four to align them.
-
Measure the width of the door. Measure, mark and cut two plain, ungrooved cedar 2-by-4 boards to the width measurement.
-
Place one two-by-four horizontally on top of the door along the bottom edge.
-
Drive 3-inch galvanized screws through the two-by-four and into the tongue and groove door with a power drill and a Phillips head screwdriver bit. Space the screws along the two-by-four to allow at least one screw per tongue and groove board. Repeat to mount the other cut cedar board across the top edge of the door.
-
Measure the space between the top and bottom two-by-fours. Measure, mark and cut two cedar two-by-fours to that length.
-
Place one cut two-by-four on the left side of the door between and perpendicular to the top and bottom horizontal boards. Align the outer edge of the board with the edge of the door and fasten it with 3-inch galvanized screws spaced approximately 4 inches apart. Repeat on the right side of the door.
-
Measure the space between the left and right 2-by-4 boards. Measure, mark and cut two or three two-by-fours to that measurement. These are braces. The number of braces you need depends on the height of the door. Cut one brace for approximately every foot of space from the bottom edge to the top.
-
Fit the braces 1 foot apart between the two side boards and fasten them to the door with screws.
The Drip Cap
- There are many prefabricated options for basement bulkhead doors, but wood doors are durable and can last many years with good care.
- Measure again from front to back.
- Measure, mark and cut more cedar and fit the boards together until the door is as wide as the bulkhead.
- Place a plain 2-by-4 board on the work surface against the top edge of the door.
- Space the screws along the two-by-four to allow at least one screw per tongue and groove board.
- Measure, mark and cut two cedar two-by-fours to that length.
- Measure the space between the left and right 2-by-4 boards.