How to Make a Interior Door Header
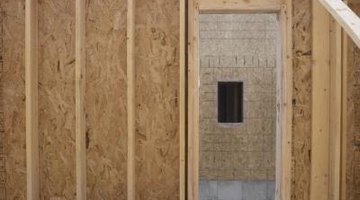
When you install a door in an interior wall, you must build an additional frame for the door inside the wall frame. This additional frame consists of studs on the side of the door and additional framing on top of the doorway called a header. The header provides additional structural support to the wall frame, which is needed to compensate for the hole created by the doorway.

Step 1
Cut two 2-by-4 boards that are the same height as the doorway. These are called the jack studs.
Step 2
Nail the jack studs to the studs in the wall frame -- the king studs -- where you are installing the door.
Step 3
Measure the distance between the king studs, and cut two 2-by-4 boards to fit that distance. These boards will be the door header.
Step 4
Lay the two header boards flat on top of the jack studs and nail them to the jack studs.
Step 5
Measure the distance between the top board of the header and the top plate. The top plate is the top board in the wall frame.
Step 6
Cut a 2-by-4 board to fit the distance between the header and the top plate. This board is called the cripple stud. You can place the cripple studs to greater than 16 inches from either of the king studs, so cut more than one cripple stud if necessary.
Step 7
Place the cripple studs between the header and the top plate and nail them into position by driving the nails through at a 45-degree angle.
References
Writer Bio
Carson Barrett began writing professionally in 2009. He has been published on various websites. Barrett is currently attending Bucks County Community College, pursuing a Bachelor of Arts in sports management.
Photo Credits
- Hemera Technologies/AbleStock.com/Getty Images
More Articles


