
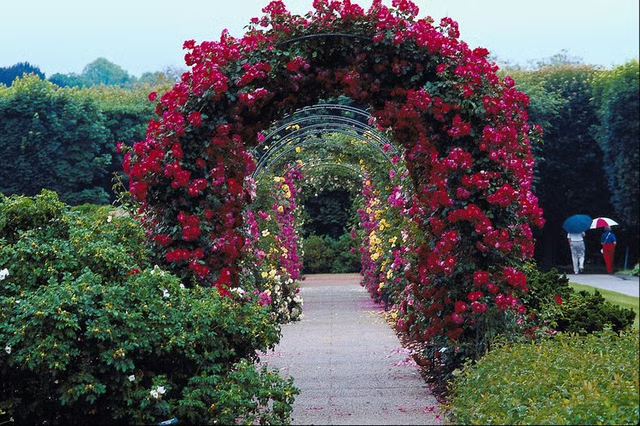
Rebar is an excellent material for building arbors as it is cheap, readily available and easy to work with. Welding is not necessary for many designs, making it accessible to all.
Things You Will Need
-
Slide the 1-inch washers onto the bolt and place into the end of a two-foot pipe section. This will prevent the top of the pipe from being damaged as you pound it into the ground. Use the sledgehammer to sink the pipe at least halfway into the ground. Try to choose a day where the soil is not saturated with water or so dry as to be rock-hard.
-
Sink the pipes into the ground in a rectangular pattern, about 8 feet wide and 3 feet deep. You can alter the design as needed for more depth.
-
Socket one end of the rebar into the pipe, and slowly bend the rebar over to the other side, making sure the bend occurs in the center only. You can also do this with the rebar on the ground if you want more control. Two people make this step much easier.
-
Once both pieces of rebar are in place, wire the welded wire panels in place, starting about six inches above the ground. Also known as cattle panels, they can be found at feed stores and hardware stores. Panels will only need to be wired at both ends and once in the center.

The Drip Cap
- In the garden, trellises and arbors add great structure and are used to support climbing plants.
- Rebar is an excellent material for building arbors as it is cheap, readily available and easy to work with.
- You can alter the design as needed for more depth.
- Once both pieces of rebar are in place, wire the welded wire panels in place, starting about six inches above the ground.