


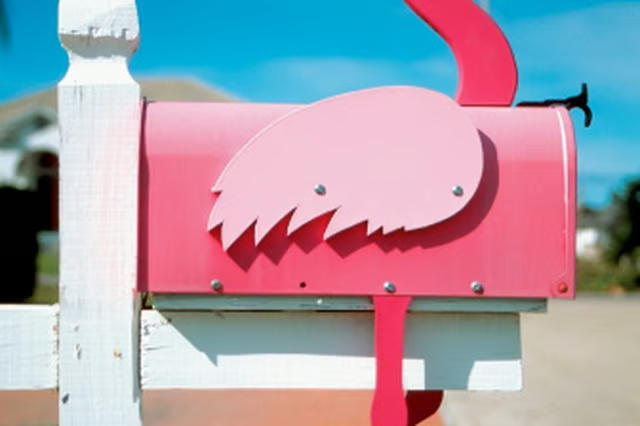
If that is the case, you can use a simple wooden post and stain or paint the box to match it. You can purchase ready-made posts at home improvement stores.
Things You Will Need
-
Cut a 1" by 4" board the same same length as the bottom of the mailbox minus a half inch. Use a circular saw to make the cut.
-
Place the board flat on the post's extension arm so that the 4-inch edge of it is even with the end of the arm. Center it so that it hangs even off both sides of the arm.
-
Drill 2-inch galvanized screws through the board and into the post. Use 2 screws at the front, 2 in the middle and 2 at the back.
-
Place the mailbox on top of the board on the extension arm. Set it so that the back end of the box is even with the edge of the board. This will mean that the board stops 1/2 inch before the front end of the box, which will allow the door to lower all the way.
-
Use a pencil to mark the drill holes that are located in the bottom of the mailbox near the center.
-
Remove the box and drill pilot holes where you made the marks. Use a drill bit that is smaller in diameter than the 1-inch bolts or screws you will use to attach the box.
-
Put the box back in place so that you see the marks through the holes. Drill in 1-inch galvanized screws if you have a specialized drill that will fit in the box, or twist in bolts with a wrench. If you can drill through the arm of the box to a space underneath, such as a paperbox, then use longer 2-inch bolts and tighten down with nuts.
The Drip Cap
- Mailboxes come in all kinds of shapes and sizes and can be used to display your personality or your home's style.
- Drill 2-inch galvanized screws through the board and into the post.
- This will mean that the board stops 1/2 inch before the front end of the box, which will allow the door to lower all the way.
- Remove the box and drill pilot holes where you made the marks.