


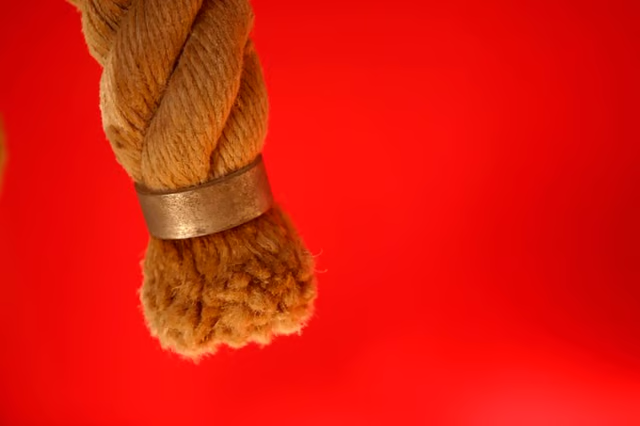
End splicing does not require as many tucks as other applications because no load is applied to the splice. End splices will keep garden projects like woven deck railings or sun awning fastenings tidy.
Things You Will Need
Make an End Splice
-
Unravel the rope end for a length equal to six times the diameter of your rope. For instance, one-inch rope would require six inches to be unraveled. Tape the main body of the rope just under the unraveled strands to keep it from further unraveling. Tape the rope ends tightly to make them easier to pass through each other while weaving the splice.
-
Tie a crown knot in the rope end. Lay each rope strand over the one next to it with the end overlapping. The loops will look like backwards Cs with the end of each strand inside the neighboring loop. Pull the strand ends down through the formed loops and pull the knot tight. Remove the tape at the knot base.
-
Start your end splice with one strand from the crown knot. Using an awl, fid or marlinspike open one of the rope strands directly below the crown knot. Pass the strand through the opening and pull tight. Work the rest of the strands the same way, going counter-clockwise. Complete the first tuck correctly and you should have the three strands hanging down beside the body of the rope. All three strands should be of equal length.
-
Make another tuck by repeating the process. Open a rope strand below the first tuck and pass one of the strand ends through. Pull tight and repeat with the other strand ends, going counter-clockwise.
-
Complete three or four sets of tucks for the entire splice. Always remember to work in the same counter-clockwise direction. Your untapered, untrimmed splice will have strand ends protruding from the bottom. Trim any protruding strand ends and be careful not to cut the splice. Roll the rope end to smooth out the splice.
The Drip Cap
- End splicing, also called back splicing, is used to clean up rope ends and keep them from fraying.
- Create the splice by first unraveling the end of the rope, then weaving the strands back into the rope end.
- Tie a crown knot in the rope end.
- Lay each rope strand over the one next to it with the end overlapping.
- Complete the first tuck correctly and you should have the three strands hanging down beside the body of the rope.
- Pull tight and repeat with the other strand ends, going counter-clockwise.