


Step 1
Spread flexible pond liner over the area for the waterfall mound, leaving enough to hang over the edge of the pond and end well below water level. Mix thin mortar according to the manufacturer’s instructions. The mortar should spread easily without clumping but be thick enough to remain in place.
Step 2
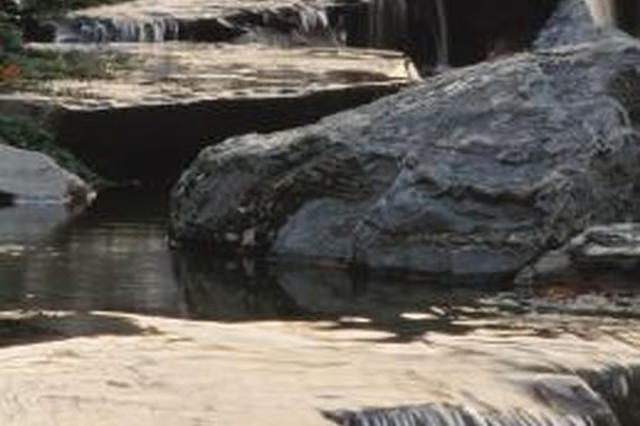
Apply a thin layer of mortar to the pond liner and position the base stones or boulders on it. Cover the container of prepared mortar so it doesn’t dry out while you build each level of the waterfall. Pile stones and boulders on the base stones, arranging a flat-edged stone for water to cascade over into the basin or pond. When you are satisfied with the configuration, use a putty knife to work mortar into cracks between stones and under boulders. Scrape away any mortar that is visible so the pile of stones appears natural.
Step 3
Spread a little mortar on the tops of the base stones that the next level of rocks will rest on. Stack another level of stones on the solid base you have created. Position the hose or pipe that will deliver water to the top of your falls and let all the mortar dry.
Step 4
Add a second flat rock for water to sheet over and fall on the flat rock below before cascading into the pond. Build the last level of rocks and boulders around the second flat rock and test the water flow. Note any places where water streams away from the cascade stones or between and under any rocks.
Step 5
Adjust the water pipe or hose and the top levels of stones until the waterfall spills over the flat stones and travels to the pond or basin. Use the putty knife to work a bit of mortar around any stones that water flows under or behind. Mortar the water delivery hose in place and camouflage it with stones. Let the mortar dry before turning on the falls.