


Step 1
Fill the mister with water. Add a few drops of liquid dish soap per cup of water in the mister.
Step 2
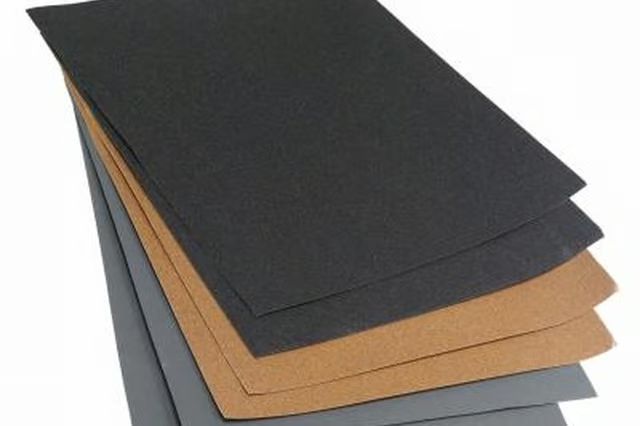
Tear a sheet of 320-grit carbide paper into quarters. Wrap one quarter around a sanding block.
Step 3
Spray any dust pimples, high spots, drips or any other raised imperfections in the varnish with the soap solution. Sand those raised parts down with the carbide paper. Sand just enough to level the imperfections; do not sand into the finish. Check the sandpaper periodically.
Step 4
Tear a sheet of 600-grit carbide paper into quarters. Wrap one quarter around a sanding block.
Step 5
Spray a section of the varnish with soapy water. Wet-sand the section just enough to scuff and take the shine out of the varnish. Wet-sand the edges first, then sand the interior of the wood. Use short strokes and sand in the direction of the wood grain. Keep the work surface wet. Brush aside the sanding slush as you go. Switch to a fresh piece or section once the grain gets clogged with sanding slush. Continue wet sanding section by section, until you scuff the entire piece. After you finish, inspect the piece with a flashlight to check for any shiny, missed spots.
Step 6
Wipe all traces of sanding slush away with a moist rag.
Step 7
Repeat Steps 4 through 6 with 800-grit carbide paper. Scuff just enough to sand down the sanding marks made with the 600-grit carbide paper.
Step 8
Unravel a pad of steel wool. Fold the flattened pad into quarters. Wrap the folded steel wool over a sanding block.
Step 9
Spray a section of the sanded varnish with soapy water. Sand the varnish in the direction of the grain. Make three passes over the section. Use long strokes. Overlap each stroke slightly. Refold the steel wool to expose a new section. Make three more passes over the section. Refold and sand in this manner two more times to make a total of 12 passes. Keep the work surface wet and brush aside the sanding slush as you go. Switch to a fresh piece or section once the grain gets clogged with sanding slush.
Step 10
Wipe the surface clean with a rag moistened with naphtha and allow it to dry. Observe the finish. If it is satisfactory, move on to the next step. If the surface is still too rough, make another set of three passes.
Step 11
Repeat Steps 8 through 10 to convert the rest of the piece to a satin finish.
Step 12
Moisten a dry rag with naphtha. Wipe the surface clean.