


Step 1
Hang a plumb bob from both ends of your top plate to determine the precise location to install the floor plate. The plumb bob should be fastened to one edge of the top plate, and allowed to hang straight downward. Use your pencil to mark the spot on the floor where the edge of the top plate sits, as indicated by the plumb bob. Repeat the same process at the other end of the top plate, along the same edge.
Step 2
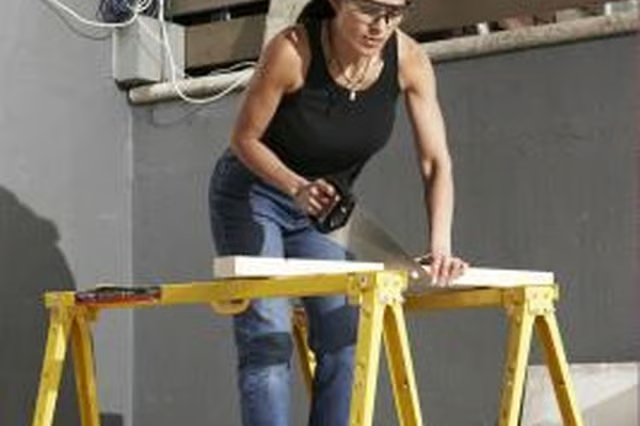
Place your chalk line over both pencil marks, and snap a guide along the full length of the floor-plate installation location. Use your tape measure to record the length of your wall, and use your circular saw to cut a 2-by-4 stud to fit.
Step 3
Use your hammer and nails to fasten the floor plate to your wooden floor, although you can use screws as a stronger alternative. Drive in one nail every 16 inches or so, and vary the line along which you install each nail to avoid splitting of the wood. For installing the floor plate on a cement slab, move to the next step.
Step 4
Use your masonry bit and power drill to make pilot holes in the cement slab. Also, drill pilot holes through the floor plate at the location of each anchor screw. With the concrete pilot holes drilled, drive the concrete screw anchors into the concrete with the hammer. Use your screw gun to drive screws through the floor-plate pilot holes and into the anchors below.
Step 5
Cut your floor plate to fit any doorways that will be installed along the length of your wall. The floor plate is not necessary across doorways; it should stop at one side of the door and resume at the other, to provide for a clear walkway through the door.
Step 6
Allow enough room between floor plate segments to fit the doorframe, doorjamb and the vertical studs necessary to support the door. For example, if you are installing one 30-inch door, leave a 32 inch space between floor plate segments. This equates to 30 inches for the door, 1 1/2 inch for the doorjamb and 1/2 of fine tuning room on either side of the frame. The door's two king and two trimmer studs sit on the floor plate.