
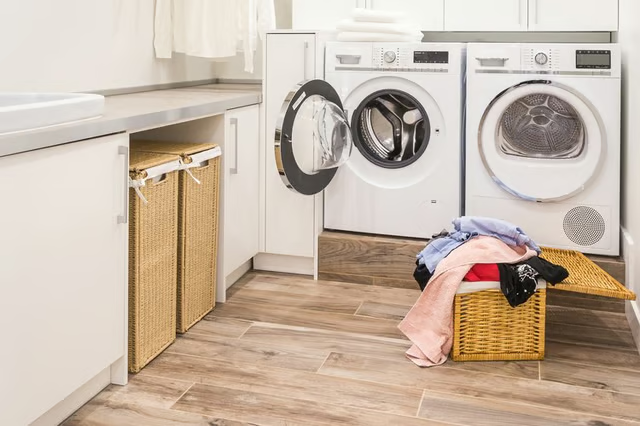
Venting your dryer expels the moist air and tiny particles your machine releases as it dries your clothes, ensuring your home remains clean and dry. If you are planning to do the job yourself, a simple interior-exterior wall vent is fairly straightforward, but if you're not sure, or not confident using a masonry drill, check in with your local hardware store before you get started.
Things You Will Need
-
Choose a place on your exterior wall for your vent. Bear in mind your duct can run to a maximum of 25 feet, subtracting 5 feet for every 90-degree turn it takes, and 2.5 feet for each 45-degree turn. Most ducts will generally have two turns, one at the exhaust port and another where the duct exits the wall at the vent, which would take your duct down to 15-feet long.
-
Outside, the bottom of the vent must be at least 12-inches above the ground as well as the same distance from any obstructions, such as air conditioning units or decking.
-
Use your drill with a masonry drill bit to make a pilot hole through the concrete from the inside to the outside.
-
Now, on the outside wall, draw a 4.5-inch outline and then use your drill’s hammer function to begin drilling through the concrete. It will be hard work so use two hands and brace your body against any unexpected bumps as you drill through nails. Give the drill a rest every now and again to prevent overheating.
-
If your drill doesn’t make it all the way through the wall, go as far as the tool allows.
-
If you haven’t reached the inside with your drill, you can use a hammer and chisel to remove the concrete to the depth of the hole you’ve drilled, before going back to your drill. Repeat this process until you reach the wall’s limit.
-
Place the dryer vent hood pipe into the hole, placing the vent cap against the wall. With two half-inch concrete screws, mount the cap, which will have two screw holes on either side, on the foundation. Make sure you screw it down evenly because it won’t vent properly if one corner is tighter than the rest.
-
Using your caulk gun, run caulk around the edge of the vent to seal the hood to the foundation. Inside, caulk around the dryer duct on the inside, using the plastic trim ring included with the vent hood.
-
Measure and cut your duct to the required length using tin snips and fit it into an elbow at each end with metal foil tape. Run the duct from the dryer to the vent hood. Turn your dryer on and check the system inside and out to make sure it’s working and the vent flap is opening.
-
Your vent is now operational. Continue to check your venting system periodically to ensure the duct is clear and the vent flap opens while the dryer is on. If you're still having problems, get in touch with a registered handyman to help you complete the work.