
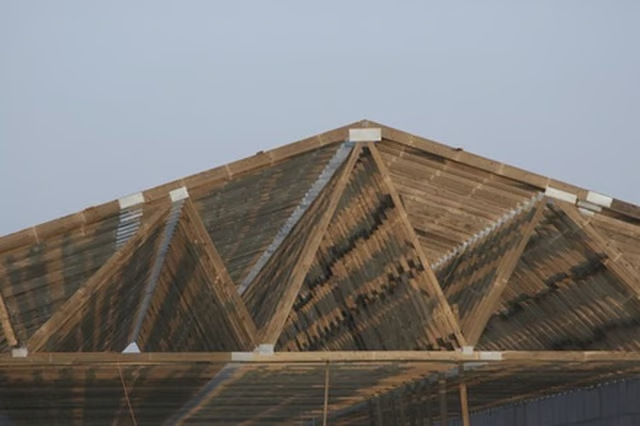


The product is UL (Underwriters Laboratories) rated for fire and hail, and is Energy Star rated for its paint system. Premium Pro-Snap roofing panels install over a solid roof bed and come in custom-cut panel lengths from 4 ft. to over 40 ft., and are 16 inches wide.
Things You Will Need
-
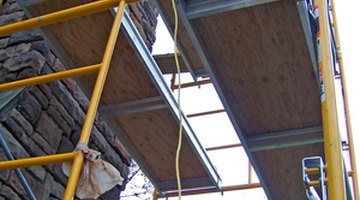
Contact building regulators to determine the requirements for roofing in your area. Construct scaffolding around the property to enable safe roof access. Draw the roof on a piece of paper to help with jotting down measurements.
-
Measure the roof with a measuring tape to determine how many Premium Pro-Snap panels you need. Measure the roof from the peak to its eave to provide the length of each panel as recommended by the manufacturer. Measure across the roof to determine the number of panels you require.
-
Order the appropriate quantity of Premium Pro-Snap roof panels from the manufacturer. Install a solid decking on the roof to prepare for the recommended attachment of the Premium Pro-Snap panels, and install roofing felt on top of the deck.
-
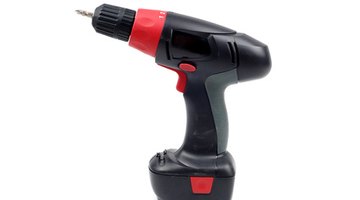
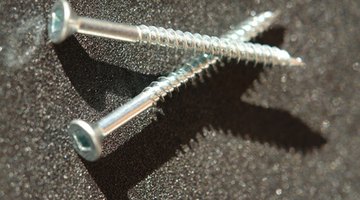
Wear safety glasses and protective gloves, and fit each panel perpendicular to the roof line. Use a cordless screwdriver and screw Pro-Snap screws into the locking channels along the edge of the panel. Only one edge of the panel has locking channels, while the other edge has a rib that curves underneath.
-
Take the next panel and fit the center rib over the rib with the locking channels that you have just installed. Snap the center rib onto the rib below it so that the lip slides into the rib channel and locks in place. Take your time to make sure that the center rib locks all the way down the length of the Premium Pro-Snap panel.
-
Smooth the panel against the felt so that it is firmly against the deck and perpendicular to the roof line. Secure the steel panel by screwing in the Pro-Snap screws on its other edge, as this is the side with locking channels. Repeat the panel application process until the roof is complete.



The Drip Cap
- Midwest Manufacturing produces Premium Pro-Snap roofing for use in light commercial and residential settings.
- The product is UL (Underwriters Laboratories) rated for fire and hail, and is Energy Star rated for its paint system.
- Contact building regulators to determine the requirements for roofing in your area.
- Install a solid decking on the roof to prepare for the recommended attachment of the Premium Pro-Snap panels, and install roofing felt on top of the deck.
- Only one edge of the panel has locking channels, while the other edge has a rib that curves underneath.