


Step 1
Locate the septic drain line as well as the location where the drain descends from the toilet. Plan your route between these two points. It should be as direct as possible, must be downhill, and should have as few curves and turns as possible. Take careful measurements and determine how much pipe and what type of fittings will be required. Make certain you have all the needed components before proceeding.
Step 2
Attach a section of 4-inch PVC pipe to the toilet flange which will be extending down from the toilet above. Remember the drain line must always be slopped downhill or it will cause water and waste to stand in the drain, eventually causing a clog. Fit each fitting and section of pipe from the toilet flange to the septic drain line. Clean each pipe fitting and pipe end with pipe cleaner before applying the pipe cement. It is critical all joints are secure and water-tight.
Step 3
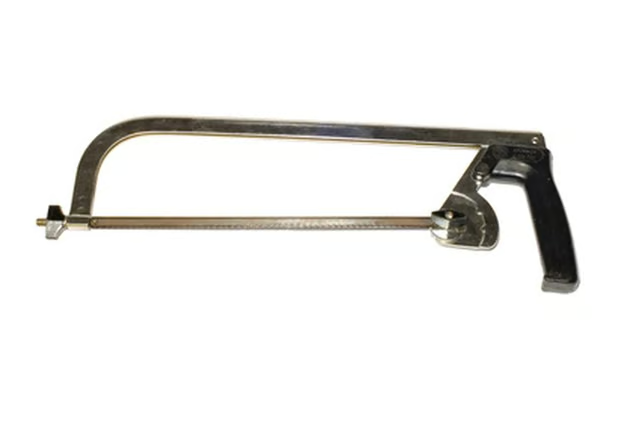
Mark the point where the septic tank drain and the new drain intersect. Make certain the washing machine and dishwasher are turned off and everyone knows to not flush a toilet, then cut into the drain line. Use the hack saw to cut out a section of pipe just large enough to accommodate a tee fitting. There should be enough play and give in the drain line to allow you to slide the new fitting into place. Be certain to clean the pipe ends and fitting before applying the cement. Position the tee so the new opening is in the proper position to intersect with the new drain line.
Step 4
Connect the new drain line to the tee fitting on the septic drain. Make certain the fittings slide together completely for a tight and secure fit. You will also need to make certain the change in the drain line did not cause it to sag. If so, you will need to support the drain line to compensate for the sag. This can be done with a support beneath the drain, or a hanger secured to a floor joist overhead.