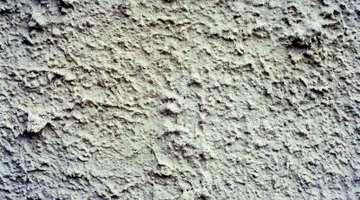
How to Install Black Paper for Stucco
Before applying stucco to a building constructed of wood it must have a moisture barrier. Traditionally that moisture barrier is black tar paper. If you don't apply a moisture barrier, in time the wood begins to rot. But before tar paper is tacked to the outside of the building there is another material laid in place. It's a sticky paper referred to as ice and water shield that keeps water from leaking through crevices around the windows and doors where they are set into the wall of the building.

Step 1
Place the sticky paper--the ice and water shield--first at the bottom of the windows, then the sides and finally at the top to seal any spaces between the window and the surrounding wall. Place it the same way around the sides and tops of doors. This way the water running down the building will keep flowing downwards due to the overlapping pattern.
Step 2
Apply the tar paper to the outside of the building. Run it up to the window and doors, over the sticky paper. Start at the bottom of the building and roll the tar paper out horizontally across the face of the building. Tack it in place using a hammer stapler or a powered staple gun. Wrap the tar paper around the corners of the house.
Step 3
Provide a 4-inch overlap as you place each horizontal strip of tar paper over the preceding strip. Staple the tar paper all the way up walls to the roof line.
References
Tips
- If you run out of tar paper before reaching the end of the wall, start with a new roll. Over lap both ends by 4 inches and proceed with stapling the tar paper to the wall.
- Rolls of tar paper are heavy. Once the first two rows are in place, start cutting your lengths down on the ground, then carry the strip of tar paper up the ladder with you and staple it in place.
Writer Bio
Robert Gray has been writing full time since 1995. His first photography book took seven years to research and publish. He specializes in writing on photography and the arts. He's written for Photography Magazine, Large Format Camera Magazine and many online art and photography websites and blogs.
Photo Credits
- NA/AbleStock.com/Getty Images
More Articles


