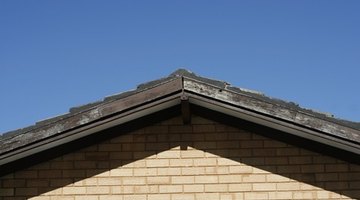
Installation Instructions for 30-lb. Roofing Felt Paper
Roof felt paper, which is also called underlayment and asphalt-saturated felt, sits under the shingles and creates an additional waterproof barrier on the roof of a building. The paper is made of felt which is soaked in asphalt to make it waterproof. Roofing felt paper comes in either 15- or 30-lb. rolls and is available at most home improvement stores. Installing the roofing felt paper is a simple task, but can be hazardous if the roof line is especially steep.

-
Line up the bottom edge of the roofing felt paper with the bottom edge of the roof line. Slide the end of the roofing paper so that it hangs over the side of the roof by 4 to 6 inches. You can install the paper from left-to-right, or right-to-left depending on your preference.
-
Pass off the roll to another person who will hold it in place. Secure the roofing felt paper directly to the underlying plywood using a staple gun. Place the staples into the center of the felt at 6- to 12-inch intervals.
-
Unroll the felt paper, keeping it aligned with the bottom edge of the roof and stapling it in the center as you move along the roof line.
-
Cut the felt paper off the roll with a utility knife when you reach the opposite side of the roof. Allow 4 to 6 inches of excess paper to hang over the side of the roof.
-
Place the roll of felt paper above the first layer and move the bottom edge until it overlaps the first layer by 2 inches. There is a line located on the bottom of the paper roll that indicates the 2-inch mark.
-
Install the second roll of roofing felt in the same manner as the first layer by unrolling it and stapling it until you reach the top of the roof line. At the top of the house, fold the paper over the peak and staple it to the downward slope of the opposite side of the roof.
-
Move to the other side of the house and begin installing the roofing felt paper. Start at the lower edge and work your way upward just as you did with the first side.
References
Writer Bio
Kimberly Johnson is a freelance writer whose articles have appeared in various online publications including eHow, Suite101 and Examiner. She has a degree in journalism from the University of Georgia and began writing professionally in 2001.
Photo Credits
- roof image by Christopher Meder from Fotolia.com
More Articles


