

-
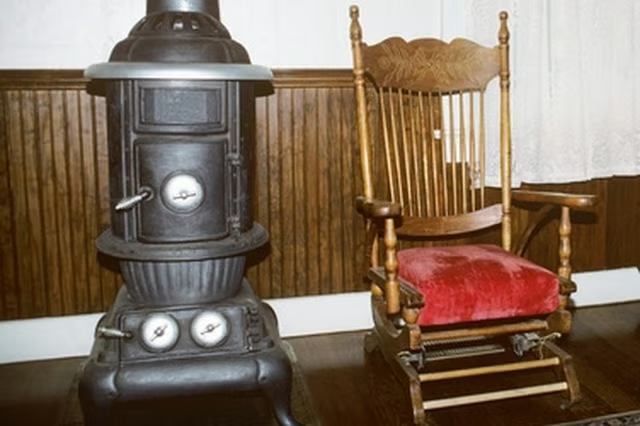
Determine where the coal stove will be placed. Follow all manufacturer's specifications for proper placement of the stove. Hold a plumb bob on the ceiling above the opening in the stove for the chimney and let it drop to find the center of the opening on the stove. Mark the ceiling at the center of where the hole will be cut for the chimney. Outline a 14 1/2- by 14 1/2-inch square around the center mark for the chimney hole with a tape measure and pencil. Use a saber or keyhole saw to cut the hole for the chimney.
-
Frame the opening with 2- by 4-inch boards, 2 1/2-inch wood screws and drill. Use a level to make sure the frame is level. Install a ceiling support in the framed opening. Both round ceiling supports and square ceiling support boxes may be used in flat ceilings. Install the ceiling support so that the bottom extends 3 inches below the ceiling. Level the support. Use 8 penny nails or #8 screws measuring 1 1/2 inches long to affix the support to the frame of the opening with at least three on each side. Install the two-piece trim collar in the frame with six round head 1 1/4 inch long wood screws, and drill or screwdriver. Follow the same framing procedure for each level that the chimney must pass through.
-
Install a heat shield where the chimney passes through a second or third floor. The heat shield is not installed at the initial ceiling pass-through or at the roof. Attach the heat shield using an 8 penny nail or a #8 wood screw measuring 1 1/2 inches long at each corner of the opening.
-
Install the chimney pipe. Connect the pieces according to the chimney manufacturer's instructions. Some chimney sections twist-lock together and some must be secured with screws. Install an attic insulation shield if the chimney passes through the attic.
-
Install a roof radiation shield around the chimney where it passes through the roof. Secure the shield to the roof by the shield L-brackets with two #8 wood screws measuring 1 1/2 inches long. Install the flashing with the upper edge underneath the roofing shingles. Secure the flashing with 1-inch roofing nails along the top edge and both sides. Use non-hardening waterproof sealant to seal the nail heads. Install the storm collar and seal it with a high-temperature non-hardening sealant. Extend the chimney up to at least 3 feet above the highest point of the roof within 10 feet. Place the chimney cap on the top of the chimney.
Articles
View All Hover to load posts
Articles
View All Hover to load posts
Articles
View All Hover to load posts
Articles
View All Hover to load posts
Articles
View All Hover to load posts
Articles
View All Hover to load posts
Articles
View All Hover to load posts
Articles
View All Hover to load posts
Articles
View All Hover to load posts
