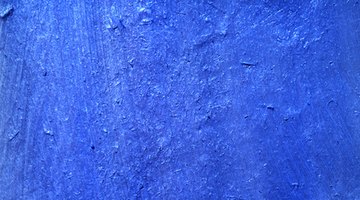
How to Use Valspar Venetian Plaster
Venetian plaster is a multi-layered wall finish that is applied in strokes with a plaster spatula that originated in Venice, Italy. Valspar Venetian plaster is a special paint designed to recreate the look of genuine Venetian plaster in an easy application. The final finish has a two-tone look of polished marble or natural stone that can be polished into a high gloss if desired.

Step 1
Tape the baseboards and around windows and doors using painter's tape, and place drop cloths on the floors.
Step 2
Scrape any bumps or irregular surfaces on the walls flat, and apply crack filler where needed to create a smooth surface.
Step 3
Pour the primer into a roller tray and prime the walls using a 3/8 inch roller, then allow the walls to dry according to the manufacturer's directions.
Step 4
Pour the Venetian plaster into a roller pan and use a 3/8 inch roller to roll the plaster onto the wall in a 3 foot by 3 foot section.
Step 5
Use a steel spatula to move the applied plaster in different directions in an overlapping pattern. Try to use a random motion to avoid leaving an even pattern, especially along the edges.
Step 6
Apply the Venetian plaster product with the roller to the next 3 foot square section and use the steel scraper to move the product in an overlapping pattern next to the previous section.
Step 7
Repeat this application until you cover the entire surface. Let this first coat dry one to four hours until matte and lighter in color.
Step 8
Apply a second coat using the steel spatula with a small amount of Venetian plaster on the blade. Start at the top of the wall and apply the plaster thinly in a random pattern, moving back and forth and side to side.
Step 9
Cover the surface completely using the steel scraper and plaster, then allow to dry for another one to four hours.
Step 10
Smooth the surface with the steel spatula for a polishing effect, then polish the surface further with a nylon kitchen scrubber, moving in a back and forth motion.
Step 11
Buff the completed surface using fine steel wool in a circular motion to polish the surface to a high-gloss finish if desired.
References
Writer Bio
Roxanne McHenry has written online marketing articles and courses for Web publications including Affiliate Classroom and Web Pro News since 2002. McHenry has a B.A. in Japanese language and literature, and lived and worked in Japan as a teacher and technical translator.
Photo Credits
- dark blue plaster image by mashe from Fotolia.com
More Articles


