

-
Lay your fence panel on a pair of sawhorses. Drive three screws into the face of the panel; one in the center as near the top as possible, and two 8 inches below the top as near each edge as possible. Tie a string around the screw at one edge. Run the string over the screw at the top of the panel and stretch it snugly down to the screw on the opposite edge, and tie it firmly in place. The string should now form a peak like the gable of a roof.
-
Draw the arch along the top of the fence with a marker. Start at one edge and place the marker underneath the string and drag along the string, pushing it up toward the top. This will create a curved line up to the center screw. Draw along the string on the other side of the center screw to complete the arch. Remove the screws and string.
-
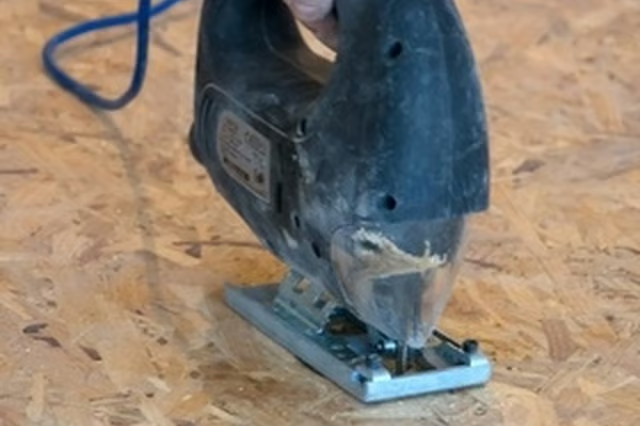
Install a coarse tooth jigsaw blade in your jigsaw. Set the saw at the edge of the fence, where the line intersects it. Start the saw and allow the blade to come up to full speed. Start the cut by applying steady pressure to cut along the line. Allow each picket to drop off as it is cut through.
-
Keep the saw moving in a steady arch to get the best cut; stopping and restarting can cause jagged edges. Run the saw just below the marker line to remove all traces of it. To avoid splintering, do not force the saw through the outside of the panel.
-
Sand any unevenness or splintered edges with a belt sander to create a clean, smooth edge. Repeat the marking and cutting process with each panel in your fence. Make sure to get the top screw centered and drop the side screws an even 8 inches to get the curve as close as possible to the same radius.
Articles
View All Hover to load posts
Articles
View All Hover to load posts
Articles
View All Hover to load posts
Articles
View All Hover to load posts
Articles
View All Hover to load posts
Articles
View All Hover to load posts
Articles
View All Hover to load posts
Articles
View All Hover to load posts
Articles
View All Hover to load posts
