

-
Purchase stainless-steel screws long enough to extend at least 1 inch through floorboards into floor joists or 1½ inches into the underlying wood for structural applications, according to the Western Red Cedar Lumber Association. Galvanized screws that are double hot-dipped are also acceptable and less expensive, according to the WRCLA, but not as long-lasting as stainless steel. Another option is coated screws that you can purchase colored to match cedar or in a contrasting color. Cedar contains tannins that may react with steel and cause black stains, if screws corrode, so choose the most corrosion-resistant screws you can afford.
-
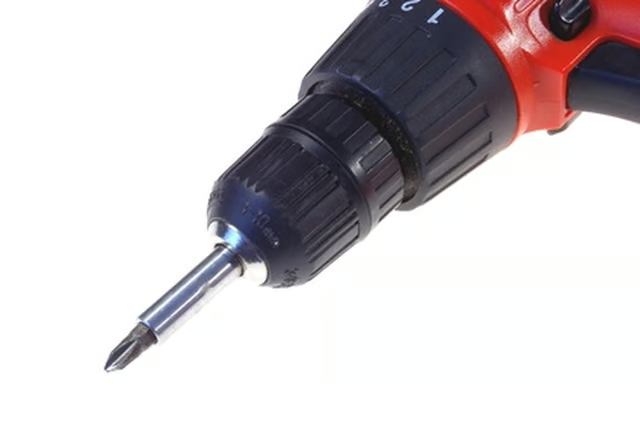
Insert a Phillips or square tip in an electric drill or screw gun, depending which head your screws have. Drive a test screw in a scrap floorboard to see if the head will sink level with the surface, without a pre-drilled countersinking hole. Screws with bugle heads will probably sink themselves without pre-drilling in cedar, but other shapes may require you to drill a shallow cone-shaped hole with a countersink bit in areas where you want them fully sunk.
-
Drill pilot holes for screws that go near the ends of boards. Choose a drill bit slightly smaller than the diameter of the screw's main shaft, not including the threads. Even if the screws drive easily without a pilot hole, they may split out the ends of boards without one.
-
Assemble the deck with screws, first drilling pilot holes or countersinking holes as needed. After the deck has been exposed to dry weather for a few weeks, check to see if any screws appear above the surface due to wood shrinkage and tighten them with a hand screwdriver or power screwdriver.
Articles
View All Hover to load posts
Articles
View All Hover to load posts
Articles
View All Hover to load posts
Articles
View All Hover to load posts
Articles
View All Hover to load posts
Articles
View All Hover to load posts
Articles
View All Hover to load posts
Articles
View All Hover to load posts
Articles
View All Hover to load posts
