


Step 1
Measure about 6 inches down the fence post with a tape measure and place a pencil mark at the center of the post. Mark on the opposite side of the post from the leaning side to allow for installation of a support line.
Step 2
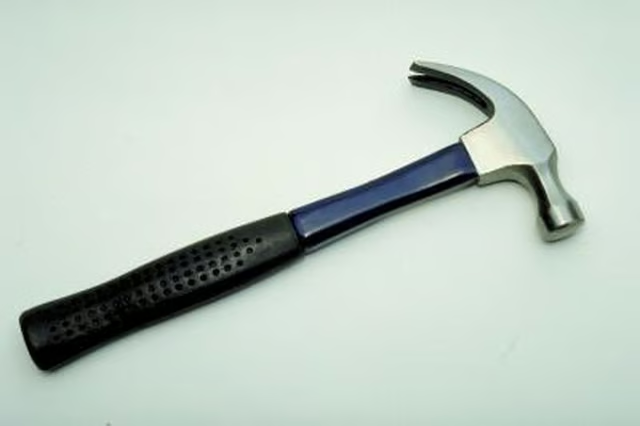
Hammer a nail into the post at the noted mark about an inch deep to create a starter hole for the eye bolt. Pull the nail back out and position the point of the eye bolt over the hole. Twist the eye bolt into the hole a few times, then insert the driving end of a screwdriver through the round loop of the eye bolt. Turn the screwdriver so it tightens into the post about half the length of the bolt.
Step 3
Drive the nail 6 inches up from the center bottom of the opposing fence post from the one with the new eye bolt. Remove the nail and insert a second eye bolt into that post. Twist the bolt half the way into the wood using the screwdriver.
Step 4
Wrap one end of the vinyl-wrapped wire through the eye bolt on the leaning post, and make sure it is securely tied and will not come loose. Pull the rest of the wire through the other eye bolt so there is a diagonal brace for the first post. Pull the wire as tight as possible and tie the second end securely.
Step 5
Insert the screwdriver into the lower eye bolt and tighten it into the post to make the wire as tight as it can get. Slowly begin turning the eye bolt in the leaning board so that it begins to straighten the leaning post. Alternate tightening between the higher and lower eye bolts to keep the tension even on both bolts until satisfied with the post position. Check the leaning post with a level if desired.