

-
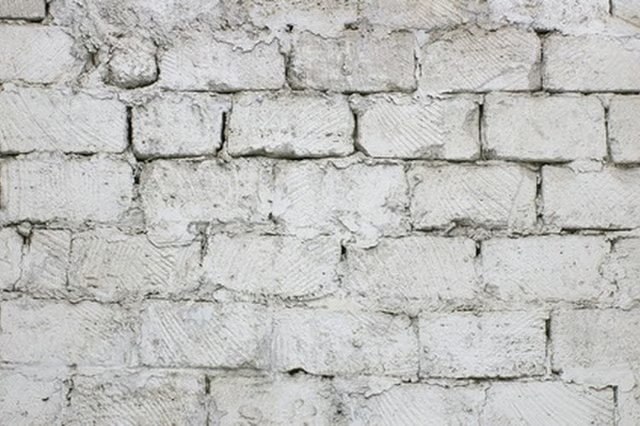
Place a cold chisel into the line of crumbling, flaking, or loose mortar and tap with a hammer to loosen the old mortar.
-
Pick out pieces of mortar with the end of the chisel or with your fingers.
-
Use a wire brush to completely brush off old mortar and debris reaching as far into the void space as possible.
-
Use a garden hose with the nozzle set to mist to wet the entire wall and joints thoroughly.
-
Mix mortar in a trough or large bucket according to the directions on the bag.
-
Wet the limestone wall and joints again, lightly, using the mist setting on the hose's nozzle. Wetting the wall prevents the dry limestone wall from pulling the moisture out of the wet mortar.
-
Fill a grout bag with wet mortar.
-
Place the tip of the grout bag into the empty space of the mortar joint and squeeze mortar in while moving along the joint line. Fill the mortar into the joint and slightly higher than the surface of the limestone.
-
Use the tip of a pointed trowel to press fresh mortar deeply into the mortar joints and even the mortar surface. Add more wet mortar to the joint with the mortar bag if necessary to build it up flush with the limestone surface.
-
Wet the wall surface lightly and cover with a heavyweight plastic tarp for three to four days while the mortar cures. Make sure the wall and mortar joints stay slightly wet during the curing process; mist lightly with the hose if walls dry. If they do not remain moist, the mortar will disintegrate and crumble.
Articles
View All Hover to load posts
Articles
View All Hover to load posts
Articles
View All Hover to load posts
Articles
View All Hover to load posts
Articles
View All Hover to load posts
Articles
View All Hover to load posts
Articles
View All Hover to load posts
Articles
View All Hover to load posts
Articles
View All Hover to load posts
