
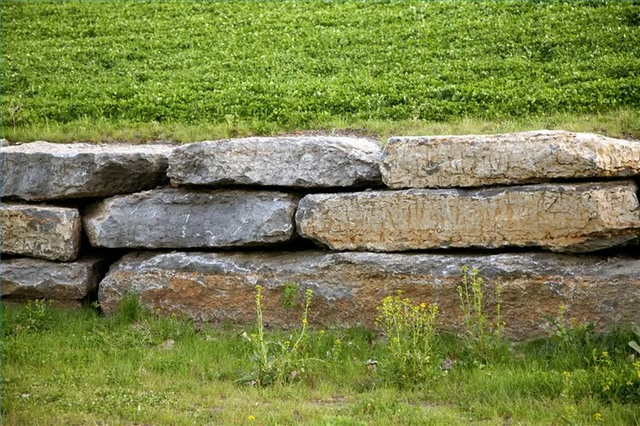
Things You Will Need
-
Choose the location to build the dry-stacked stone wall and use landscape marking spray paint to outline the location and shape of the rock wall.
-
Use a shovel (a square tipped spade works best) to edge around the painted line. Continue using the shovel to dig out the base for the wall (this should resemble a narrow trench with the width matching the width of the base rocks). The depth of the base should be approximately ½ times the width of the stone being used to build the dry-stacked rock wall. Use a level to make sure the base is level and a measuring tape to make sure that the width of the base will accommodate the rocks being used for the first layer.
-
Select rocks for the base layer of the rock wall. These rocks should be slightly larger than the rest of the stones being used for the additional layers. Use the level to ensure the base layer of rock is level. Use small pieces of stone to shim areas of the rocks to make them level.
-
Start laying out the first course of rocks to be placed on the base layer. Make sure the rocks overlap the butt-joints on the base layer; this will add to the structural integrity of the decorative rock wall. Use the level and small pieces of broken stone to level the layer. Break larger rocks with a hammer to fit in smaller voids.
-
Backfill with soil behind each layer of stone and tamp down with the shovel handle.
-
Continue adding courses of stone, ensuring that each course is level and that the rocks continue to overlap the butt-joints below, until the desired height is achieved.
The Drip Cap
- How to Build a Dry Stack Stone Wall.
- Continue using the shovel to dig out the base for the wall (this should resemble a narrow trench with the width matching the width of the base rocks).
- Use small pieces of stone to shim areas of the rocks to make them level.