
How to Install a Locating Tracer Wire

Modern water and gas piping is made from plastic technologies. Occasionally these pipes need to be located for the purposes of repairing or excavating around them. Due to plastic's non conductive properties it is nearly impossible to find them without a tracer wire connected to them. The tracer wire provides the conductive surface required by the detection equipment to locate the pipe. Proper installation of the tracer wire is essential for safe digging around your property.
Step 1
Lay the tracer wire along the pipe you wish to mark. If you are connecting to an existing wire, align the two wire ends together and tie a knot. Use the direct bury wire nuts to twist the two stripped wire ends together.
Step 2
Tape the wire every 5 feet to the pipe with the electrical tape. Take care not to damage the wire or insulated cover.
Step 3
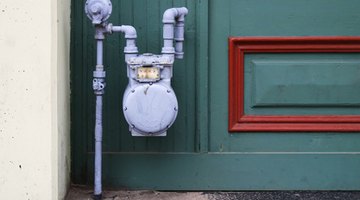
Run the wire to the end of the pipe above finished grade and cut. If you are connecting to a gas line, it will terminate at the gas meter. About 12 inches of wire should remain above final grade coiled neatly. If you are marking a water line the tracer wire will end where the water main enters the home.
Tips
- If you need to create a "T" connection to an existing tracer wire underground use a direct bury lug for this purpose.
Writer Bio
Bob White began his writing career in 2006. Working in sales, he was a technical writer tasked with responding to requests for proposal. White has a Bachelor of Arts in computer science and a diploma in home inspection. He has also worked in construction, landscaping and the pool industry for more than 15 years.
Photo Credits
- Blue Meter image by Scott Griessel from Fotolia.com
More Articles