

-
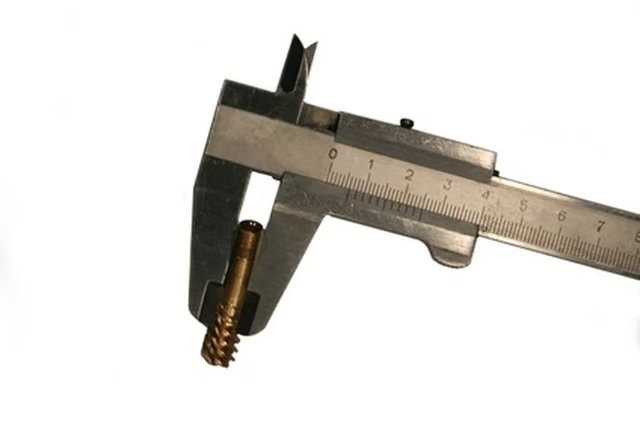
Place a straight ruler underneath the head at the tip of your clevis pin. The pin's overall length is measured with your ruler from the top of the head to the pin tip. Employ your caliper and measure from underneath the head to the edge of the hole closest to the head to determine your effective length or grip range.
-
Secure a bolt gauge. This tool will have several size labeled diameter holes for determining pin shank diameter. Place the bottom of the shank of your clevis pin through the matching hole on the gauge. Your pin should fit snugly but still turn clockwise, counterclockwise and vertically without friction. The size of the hole that the pin fits is its body or shank diameter.
-
Open your caliper slightly more than your clevis pin head. Begin to close the prongs over the head till they are tight. The result is the pin head diameter. Use your calipers from the bottom to the top of the head. This is your head height. Some clevis pins have a beveled edge around the head. This bevel is called a chamfer. To measure the chamfer, open, then close your caliper over the beveled portion. The resulting number is your chamfer depth.
Articles
View All Hover to load posts
Articles
View All Hover to load posts
Articles
View All Hover to load posts
Articles
View All Hover to load posts
Articles
View All Hover to load posts
Articles
View All Hover to load posts
Articles
View All Hover to load posts
Articles
View All Hover to load posts
Articles
View All Hover to load posts
