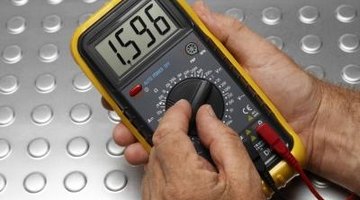
How to Test an Underground Dog Fence With an Ohmmeter
Underground dog fences use an electrical signal that interacts with a shock collar attached to the animal. The current in the fence causes the collar on the animal to emit a small electrical charge warning the animal to stay away from that area. Underground dog fences operate using a base unit with a wire running in a loop. Testing the fence using an ohmmeter is the easiest way to identify a problem.

-
Set the ohmmeter to test continuity. Different models will have different settings. Set the meter to read ohms, which is the setting next to the symbol that looks like an upside down U.
-
Disconnect the wire that goes underground from the base unit. The connections should just screw into the base.
-
Touch one terminal to one end of the wire and the other terminal to the other end. The line has continuity, meaning the wire is intact and functioning, if the needle jumps to the right or if the digital display shows a measurement or non-numerical display. No reading means that there is a break in the wire somewhere.
-
Set the ohmmeter to VAC (Volts - Alternating Current) at 10 or 50 for fences that plug into the walls. Set the unit to VDC (Volts - Direct Current) at 10 or 50 for battery-operated fences.
-
Turn the fence on. Touch one terminal to the screw for one end of the wire and the other terminal to the other screw. You should receive a reading around 12 volts for battery-operated fences and 110 volts for plug-in models. No reading at all means the unit has malfunctioned.
References
Tips
- Locating a break in the wire requires digging up the old wire entirely. New wire is fairly cheap and easy to install. If your ohmmeter fails to identify a current through the underground wire, you may want to consider replacing the wire instead of trying to find the damaged section.
Photo Credits
- Polka Dot Images/Polka Dot/Getty Images
More Articles


