

-
Open the window. Go to the window on the outside of the house. Center the L-bracket along the bottom of the window. Screw the bottom side of the L-bracket into place below the window sill with sheet metal screws. Connect the top side of the bracket directly to the window sill with sheet metal screws. Screw through the provided holes and straight into the bottom of the window to connect the top bracket.
-
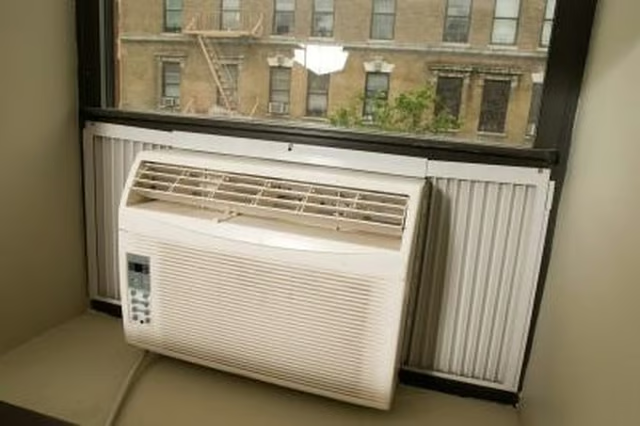
Set the air conditioner onto the window sill from the inside of the house and close the window so it is snug on top of the air conditioner. Move the accordion panels on the air conditioner to cover the openings on each side. Close the window to hold the air conditioner in place.
-
Secure the accordion panels to the window frame along the upper sash of the aluminum window with sheet metal screws and a drill. Drill and install screws through the provided holes in the frame of the air conditioner along the top of the unit. Install screws into the frame along the sides and at the bottom of the air conditioner to further secure it in place.
-
Fill the gap between the window and the lower sash with a strip of foam insulation. The gap is located between the bottom window sash that has been raised to make room for the air conditioner and the top window panel. Stick the insulation down into the opening to help seal the gap.
-
Plug in the air conditioner and turn it on. Adjust the settings and make sure it cools the room.
Articles
View All Hover to load posts
Articles
View All Hover to load posts
Articles
View All Hover to load posts
Articles
View All Hover to load posts
Articles
View All Hover to load posts
Articles
View All Hover to load posts
Articles
View All Hover to load posts
Articles
View All Hover to load posts
Articles
View All Hover to load posts
