


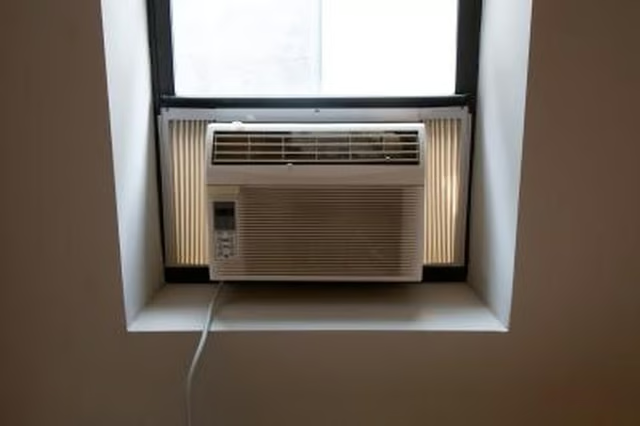
Unit Placement
-
Measure the window opening, both height and width, using a tape measure to determine the maximum size of the AC unit you can install in the space available. Purchase a unit small enough to fit in the opening.
-
Raise the lower window sash fully. Locate the center point of the window and position the mounting bracket for the AC unit -- so that the mounting holes overlap the outer edge of the window frame, with the ledge at the top of the bracket facing upward and level with the flat of the window where the window sash rests when closed. Check the level with a carpenter's level before mounting.
-
Secure the mounting bracket in place by driving sheet-metal screws through the mounting holes and into the window frame. Use wood screws for wood and vinyl frames. The mounting bracket serves as an alternate for the extended external windowsill to support the AC unit's weight.
-
Lower the leg of the bracket that rests outside the window so that it's angled from the farther edge of the bracket to the wall beneath the window. Screw the leg of the bracket to the wall to help support the bracket beneath the AC unit's weight.
-
Lift the air conditioner onto the windowsill. Have an assistant stand outside, if possible, to help you position the unit. Center the unit in the window so that the mounting bracket is centered as well. Push the unit across the mounting bracket. A small catch on the bottom of the unit will lock onto the mounting bracket as you slide it along, clicking into place when the unit is positioned correctly.
-
Shut the window until it rests on the top of the AC unit.
Adding the Window Extensions
-
Pull the window extensions located at either side of the AC unit outward from the unit, until they touch the sides of the window frame. The extensions stretch into place like an accordion.
-
Secure the extensions to the sides of the window frames by placing screws through the mounting holes in the extension sides and into the frame. Use the same screws used for the mounting bracket.
-
Secure the extensions to the window sash by placing screws through the mounting holes along the top of the extension, into the front of the sash.
Finishing Touches
-
Place a bead of caulk around the edges of the AC unit, then smooth out the caulk with a wet fingertip.
-
Fill any open spaces along the top of the open bottom window sash between it and the top window sash with foam weather stripping to aid in insulation.
-
Plug the AC unit into a nearby electrical outlet and follow the manufacturer's instructions for use in cooling off your room.