


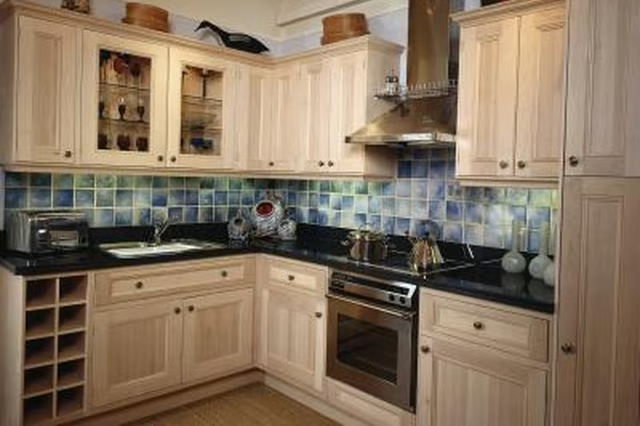
General Information
Beadboard is a type of paneling with a tongue-and-groove pattern that allows the boards to fit together. The product runs vertically, making a variety of recesses along the way. Beadboard is largely known for its use as wainscoting around a room, but it can also be used to add decorative elements to cabinetry and as a backsplash. It gained popularity during the Victorian era but is still used today. It comes in a variety of sizes and thicknesses. You can usually find beadboard sold in sheets, to make installation easier.
Color
Beadboard can be adapted to the style and color of your kitchen. Beadboard is available in white, or you can choose an unfinished woodgrain. Since it is a wood product, you can also stain or paint it to the color of your choice.
Kitchen Styles
Beadboard can easily adapt to several different styles. Country or rustic kitchens are two common design schemes that use beadboard. Traditional, beach-cottage and Victorian-style kitchens also lend themselves to this accent.
Where to Install
Install your beadboard according to your needs and design preference. You can cover all of your cabinetry with beadboard. An alternative is to use beadboard on the end panels only. You can also install beadboard on the back side of your kitchen island cabinetry to make it a focal point in the room. Another option is to cut beadboard to fit within your cabinet door's raised panels. Beadboard can also be added to line the back side of open-shelf cabinetry.
Installation
Install beadboard in sheets to make the process much easier and less time-consuming. Prepare your cabinets by sanding them to make a clean surface. Measure and mark the amount of beadboard you need for your first cabinet. A table saw helps make a clean cut between the grooves of the beadboard. Wood glue keeps the beadboard adhered to the cabinetry without the use of a nail gun. Start at the bottom corner of your cabinetry, and work your way up.