


Applications
Fix-It-All is a quick-drying patching compound or plaster that comes in a powder form. It is mixed with water to create a consistency that allows for easy application. Fix-It-All is appropriate for use on wood, drywall, wallboard and plaster but must not be used outside or in any area where moisture is present. Use it to fill cracks and to smooth and fill larger holes where a patch is applied.
Patching Holes
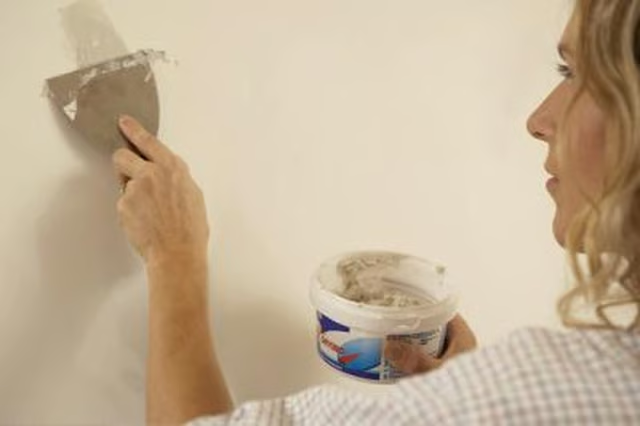
When placing a patch in a large hole in your wall, Fix-It-All or another patching compound must be applied around the edges of the hole and over the entire patch. Press the patch in place and hold until the compound dries. Before painting over the patch, apply the compound all over the affected area. The compound must be smoothed around the edges of the hole. A trowel is ideal for this step. Use a feathering technique to level out the area between the patch and wall. The excess is wiped away. If necessary, apply another coat of compound. To hide the patch, sand the area down once the compound dries. Let dry completely before applying a coat of paint.
Patching Cracks
To fill cracks, you can use Fix-It-All patching compound alone or in conjunction with joint tape. Drywall perforated tape ensures the patch lasts longer. For this type of fix, sand the area around the crack with sandpaper and use a trowel to work the compound into the cracks. Once the cracks are filled, set the tape down over the cracks. Apply more Fix-It-All on top of the tape, using a trowel. To create a level surface, spread the compound past the edges of the tape. A second coat of the compound is added after the first coat dries overnight. To finish the patch, sand it lightly before painting it.
Finishing
Fix-It-All and other patching compounds serve to create a smooth surface to hide imperfections. But you must finish over the patch to blend it in with the surrounding wall. To do so, ensure the compound is spread completely over the surface of the patch. Use a fine-grained sandpaper to gently smooth out the surface. Use a texturing technique and paint color based on the surrounding design of the wall.