
How to Build a Palm Frond Roof

Palm frond roofs lend a tropical vibe to structures but can be expensive because they are labor intensive. Save some cash by building your own.
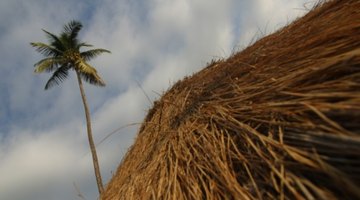
In warmer climates, a common form of thatched roof used for outdoor structures and shelters is a palm-frond roof, made from the foliage branches of the palm tree. They are very often used on pool houses, garden sheds, patios, picnic areas—or as coverings for a compost bin or other utility areas. Properly constructed, they can be remarkably good at shedding water—and they give a south-seas rustic charm to your landscape. Like any thatched roof, the principle is to cover the roof with many layers of dried vegetation that shed water laterally and prevents it from seeping through into living areas. The fronds are installed in much the same way as traditional roof shingles or tiles—beginning the bottom with subsequent layers overlapping as the fronds move upward toward the peak.
Though they are quite charming, thatched palm roofs are not cheap. For an
Following is a description of one method for installing palm fronds. Its design calls for a pattern in which the fronds are installed so the spines (stems) are positioned horizontally, with the leaves facing downward. The fronds are very closely spaced. The installation requires that an underlying base structure is already in place, consisting of a vertical and horizontal gridwork of poles to which the fronds can be attached.
-
Beginning on the large end, split the fronds down the spines, using a large knife. To make this easier, pound a metal pole into the ground, tie each frond to it, and use it as an aid to split the fronds down the entire length of their spines. Make two piles of fronds—one for the right-sided fronds and one for the left-sided fronds. Leave a few fronds whole for the tops of the roof.
-
Tie right-sided fronds horizontally to the roof structure using natural-colored rope or twine. Starting at the bottom, progress all the way around the structure with the spines running horizontally. Place them in groups of two with the spines butted against one another. Install the fronds with the "correct" side up. (The correct "up" side is the side that faces up naturally when the frond was on the palm tree.) The ends of the leaves will hang off the edge (eave) of the roof, and will angle down and to the right for this first row. Tie them down to your underlying framework every few feet.
-
Install the fronds
-
Continue alternating right-sided and left-sided fronds to install subsequent rows until you complete the entire roof. When looking at your roof from the inside the structure, you should only see the spines of the palm fronds, due to the very tight spacing.
-
For the roof cap, lay down several whole palm fronds horizontally to create a roof ridge, with the left side leaves of the fronds falling to one side of the ridge, the right-side leaves falling to the other side. You can also tie down woven mats over the ridgeline.
-
Tie thin poles along the edge of the roof to hold the leaves of the roof cap down. This prevents wind from lifting them and allowing the roof to leak.
Tip
In traditional rustic construction, the top group of leaves on the frond are twisted together to form a "rope" that ties to the underlying roofing framework.
References
Photo Credits
- Jupiterimages/Photos.com/Getty Images
- Jupiterimages/Photos.com/Getty Images
More Articles