


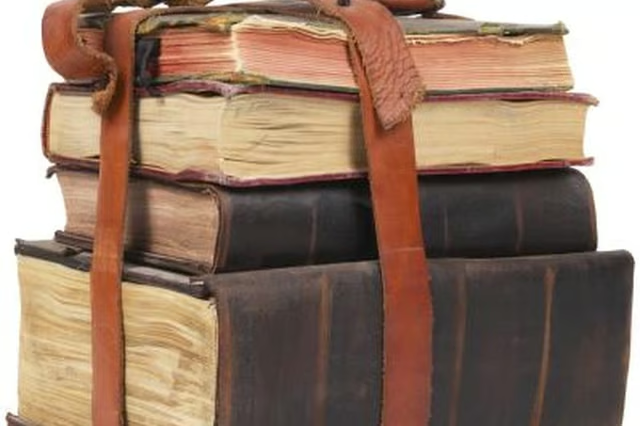
Add a unique touch to a room's decor with wallpaper created from old book pages. Turning trash into treasure is not only an affordable way to decorate, it also provides you with an inexpensive way to decorate a room with one-of-a-kind accessories. Wallcoverings often are painted or papered with pricey wallpaper because no other options seem possible. Wallpapering with book pages allow you to take that outside-the-box, recycled decorating a bit further, while offering a second life for outdated junk.
Step 1
Apply wallpaper sizing to your wall using a paintbrush or paint roller. Sizing prepares the wall for applying wallpaper, and provides a surface for the paste and wallcovering to securely adhere to. Wallpaper sizing also is called wallpaper primer. Allow the sizing to dry.
Step 2
Tear pages out of old books, or use a craft knife to cut them out along the spine of the books. Tearing the pages out of the books creates an uneven edge with a frayed appearance. If you prefer a crisp edge, trim the pages with scissors, a rotary cutter or a paper guillotine. The number of books and pages needed depend on the dimensions of the pages, the number of pages in each book and the wall size. Before you begin papering, prepare books and page sizes.
Step 3
Apply a thin layer of wallpaper paste to the back of a book page using a paintbrush. Position the page on the wall where desired. Using a wallpaper brush, smooth over the front of the page to remove bubbles and wrinkles.
Step 4
Dip a kitchen sponge in a bowl of warm water. Squeeze out the excess. Gently wipe the damp sponge over the surface of the applied book page to remove any paste on the front.
Step 5
Apply additional pages in the same way, overlapping their edges to blend them together. After the application of each page, wipe the pages with the damp sponge.